WIP: 1:350 Scale Constitution Class Refit - USS SPLENDOR (Denes)
Last update: 10/13/2023 - COMPLETE
This is going to be a custom build of a 1:350 Constitution class starship.
The model is lighted with a lighting kit built by Trekmodeler.
I am also using photo etch details made by Paragrafix.
I will be designing custom decals from scratch.
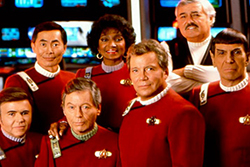
Here is a photo of what I'll be going for:
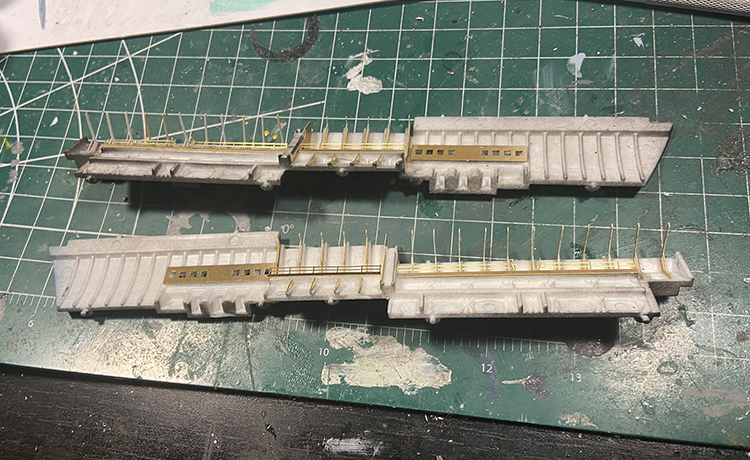
This is where I usually start...with the shuttle bay. First step is adding the photo-etch details.
Custom decals. I worked on these while quarantined for Covid.
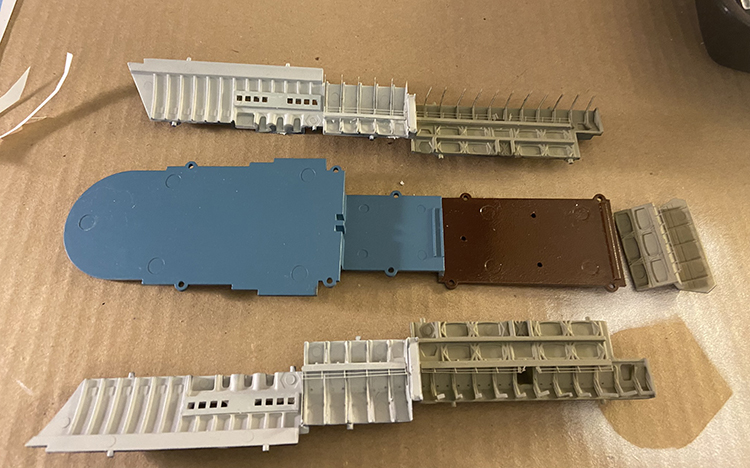
It's hard to see what I did here, but this is just a small example of how the model pieces have to be prepped for lighting. The sides/rim of the saucer have been attached to the upper saucer piece, but before attaching, both the saucer and the rim pieces had to be cut to allow for lighting. I also used putty to fill gaps and seams where light could escape.
The red vinyl masks are used to create what's called the "raytheon" effect for areas that will appear lit, but there is no actual source for external lighting (you can see this in the movies - spotlights that have no apparent source), and for the spotlight on the upper saucer. The light shining down from the bridge does not really hit the saucer at a proper angle to create the flood that is seen onscreen, so many of us modelers do this raytheon effect to compensate. Essentially, you *don't* light block the areas where you want light to bleed through, creating an illusory effect of a lighted area.
You can also see here that the front of the torpedo launcher area has to be cut out so that LEDs can be inserted into the launcher piece.
Now, time to light block. I first sprayed down a coat of black, then a layer of gunmetal. After that, a thin layer of white to make a reflective surface so that light will "bounce off" the inner surface.
Shuttle bay being assembled.
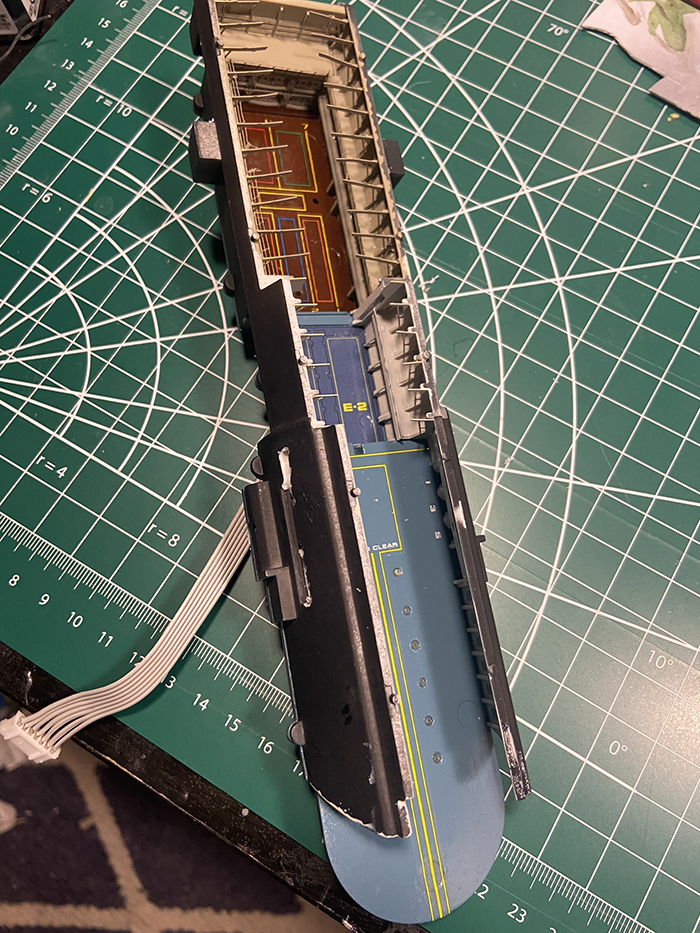
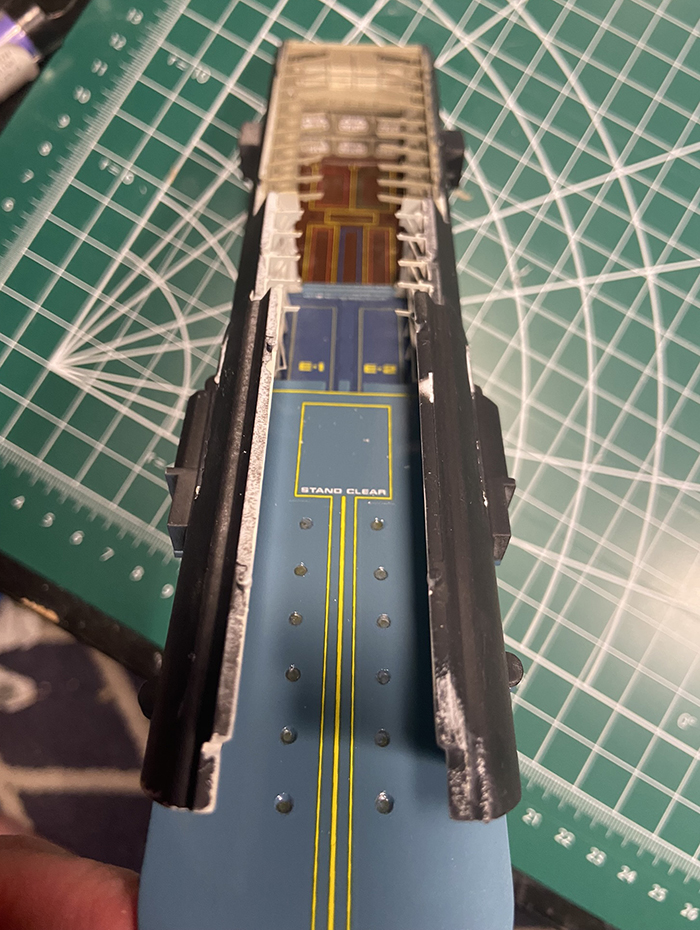
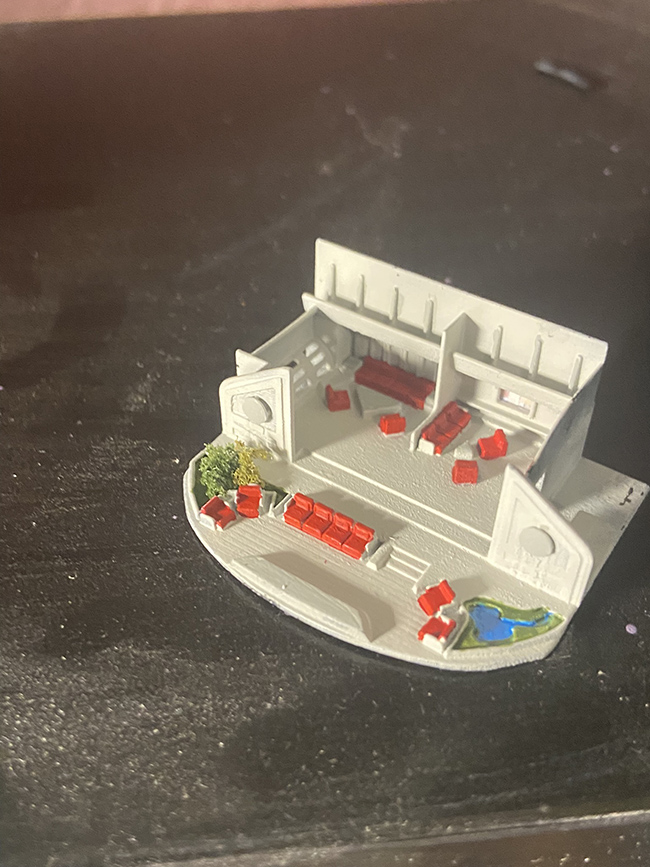
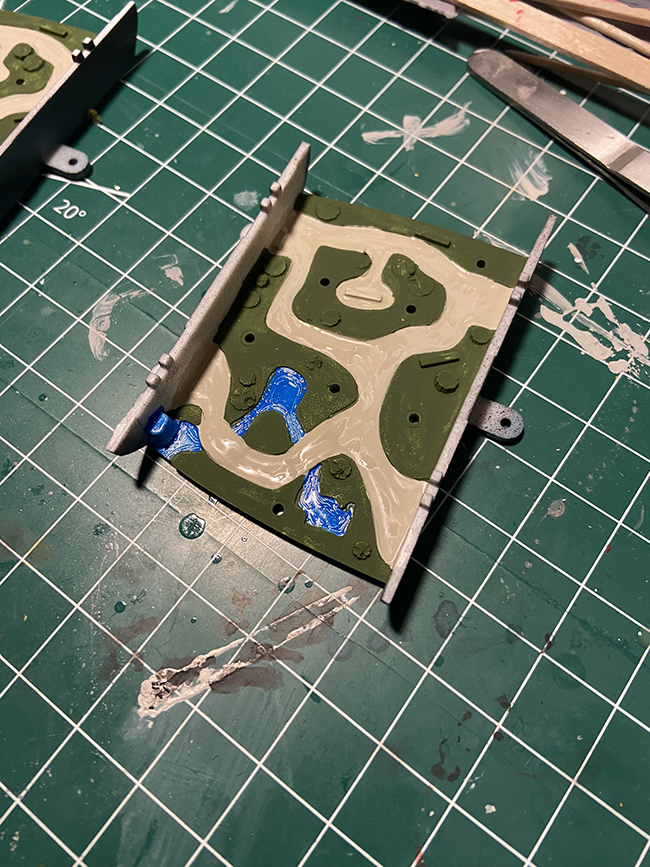
Progress on the officers' lounge and work on the arboretum.
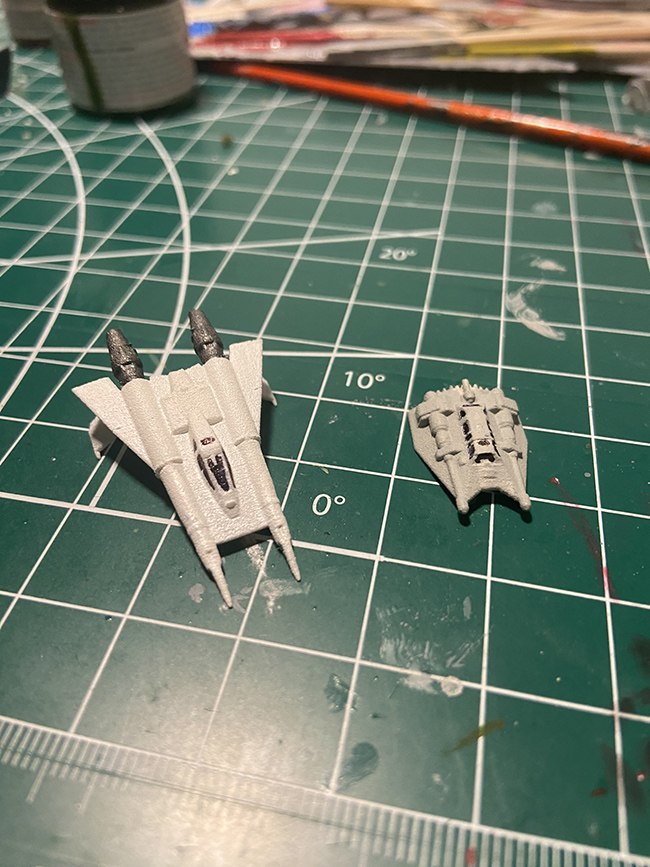
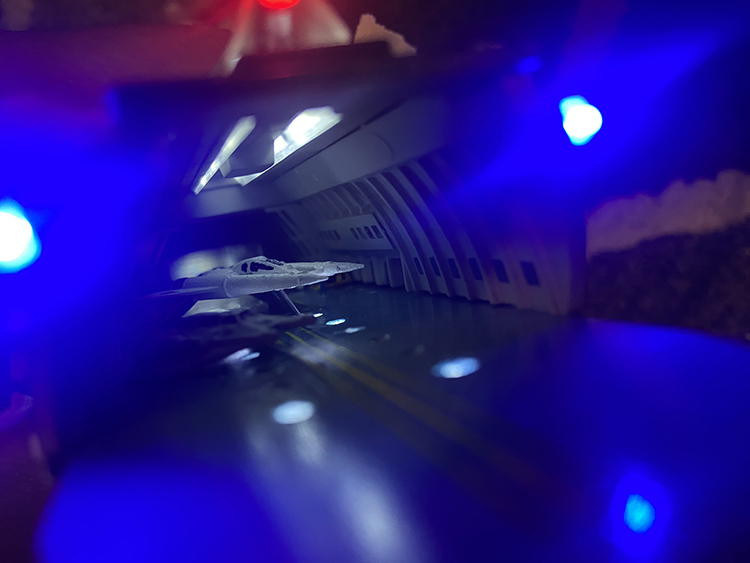
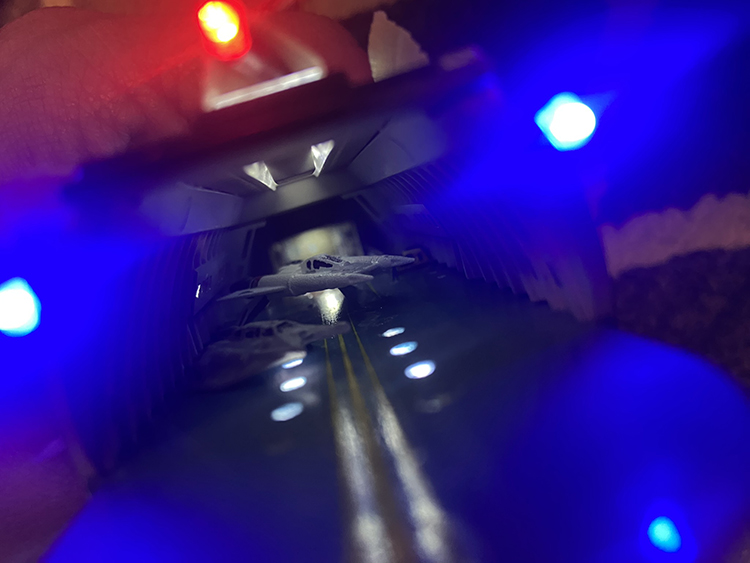
Working on painting two small ships that will be in the shuttle bay...the starfighter from Buck Rogers in the 25th Century and a snowspeeder from Star Wars.
01/15/2023 updates:
Painting the recreation deck and more work on the arboretum.
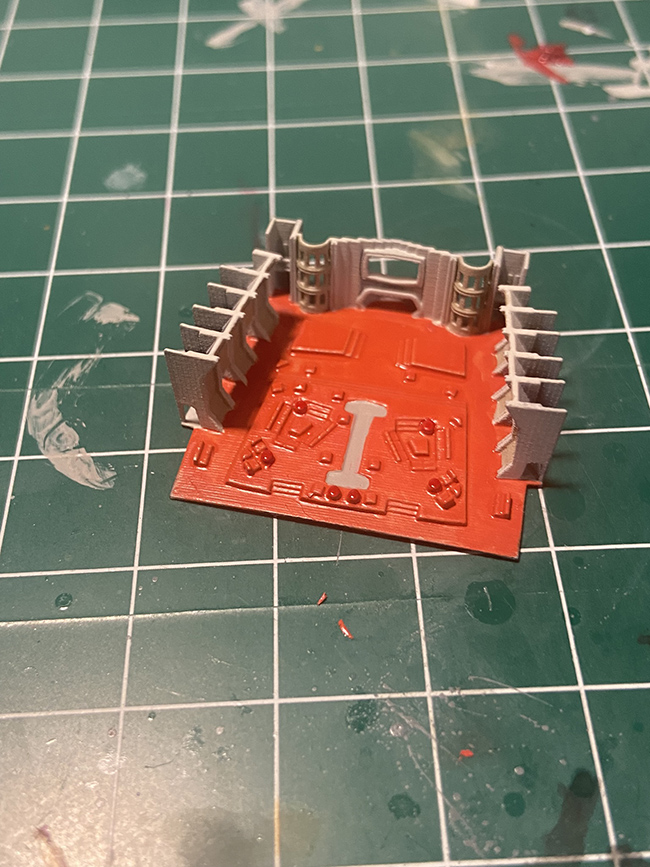
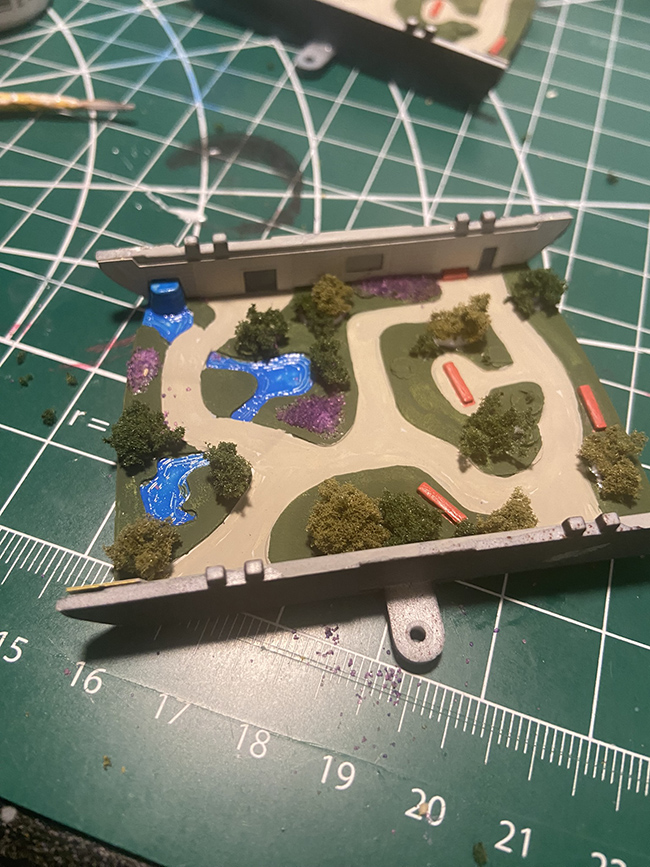
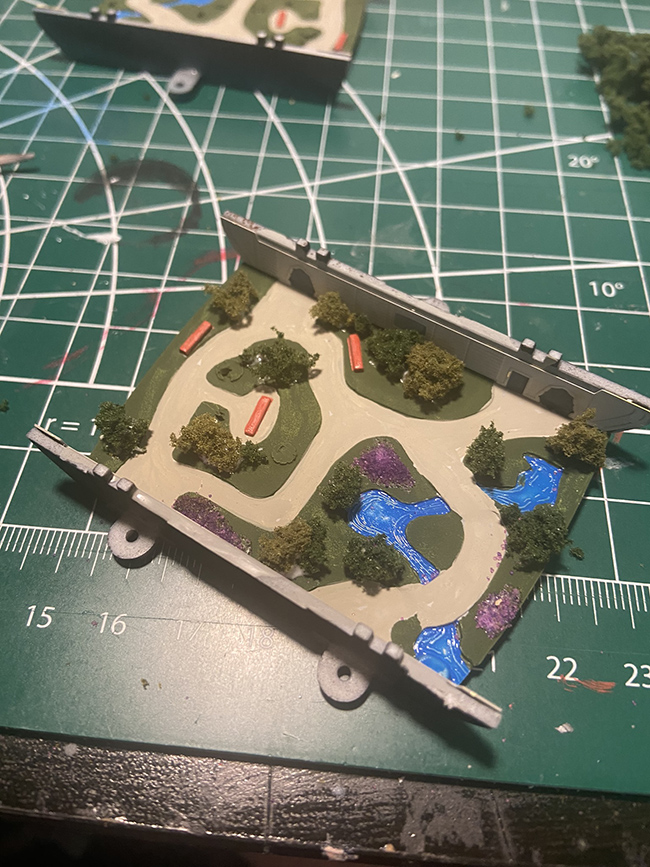
01/25/2023 update:
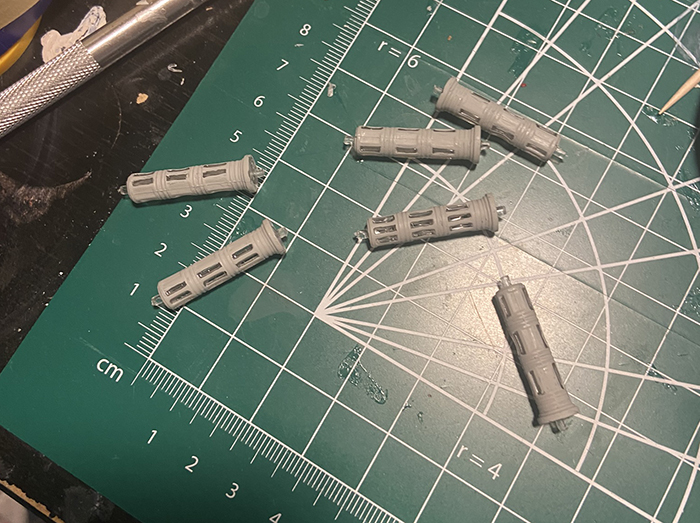
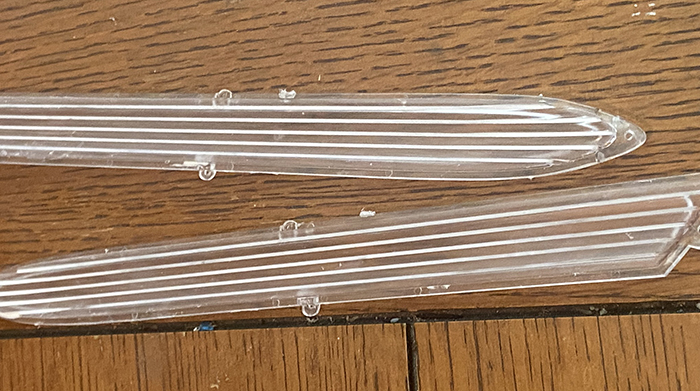
Using the same photo here for all 4 builds I'm working on. These pieces are the hardest ones to paint in the whole kit. They are clear parts and it takes a lot of fine detailing and just the right light to see where the lines, indentions, etc., are. I painted 8 of these - 2 for each model.
02/05/2023 update:
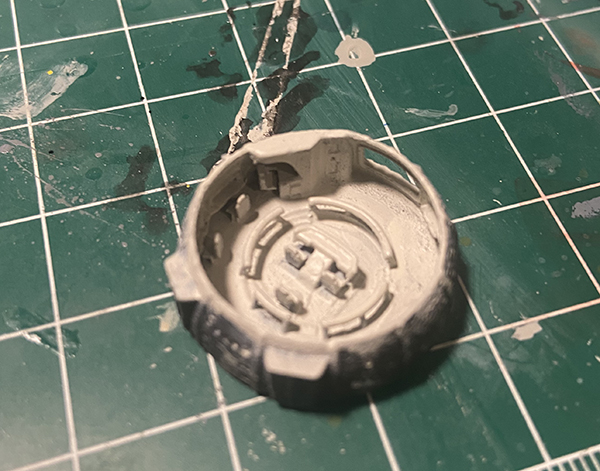
The bridge interior. Black coat on the outside for light blocking, and the base coat of the interior is painted.
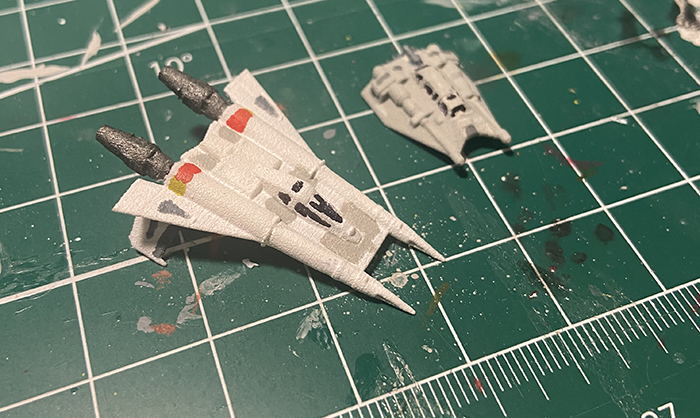
The Buck Rogers starfighter and Star Wars snowspeeder... Just one more thing I want to paint on the starfighter, but otherwise they're done.
02/05/2023 update
Done painting the starfighter. There's one more thing I have to do - I'm going to need to create a landing gear from scratch because the starfighter doesn't have one.
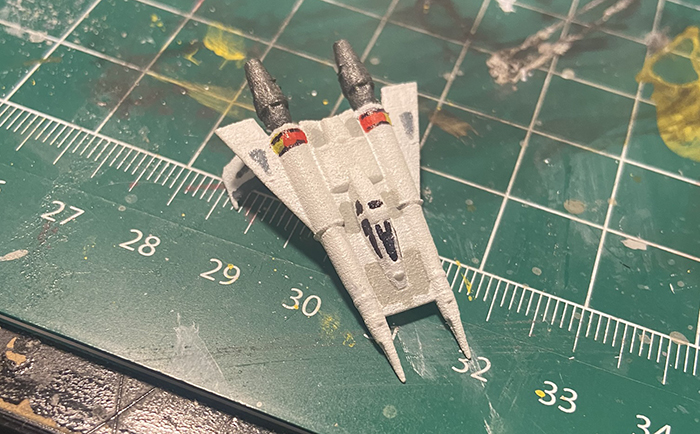
02/12/2023 update
Painting the bridge interior. Not finished yet... (Remember this is TINY.)
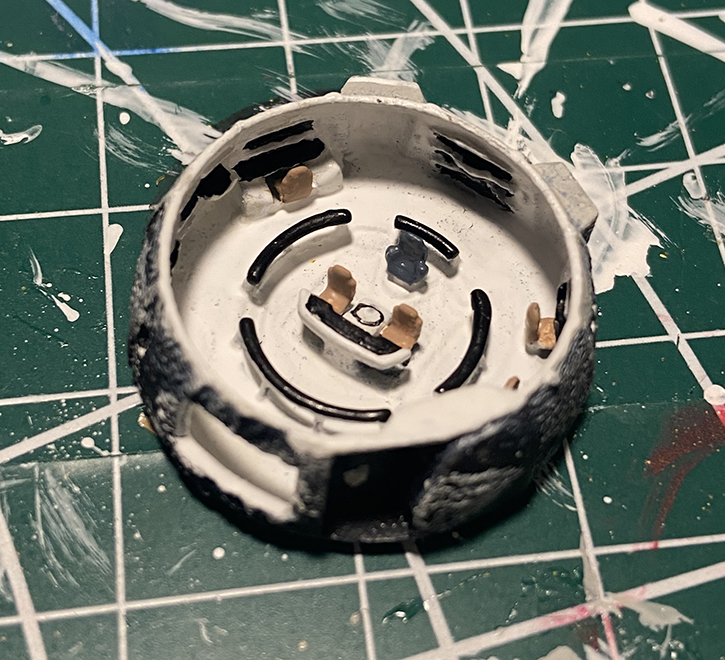
02/26/2023
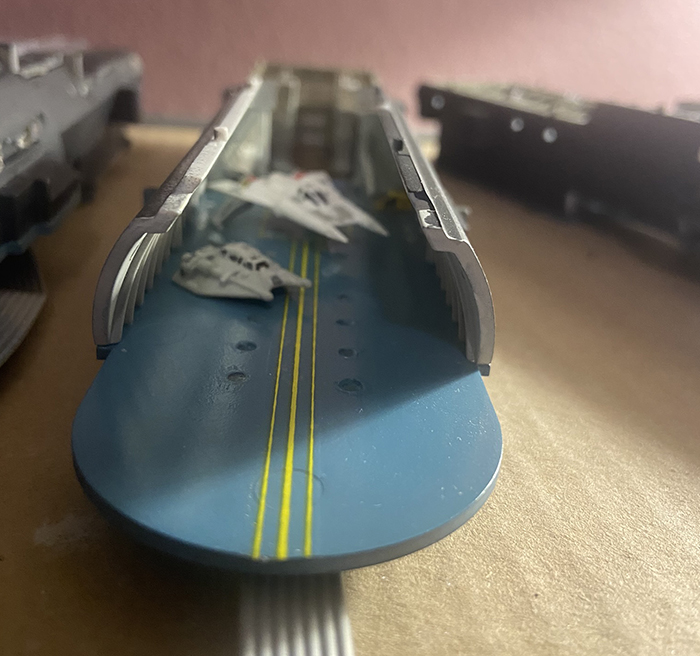
Craft in the shuttle bay.
03/08/2023
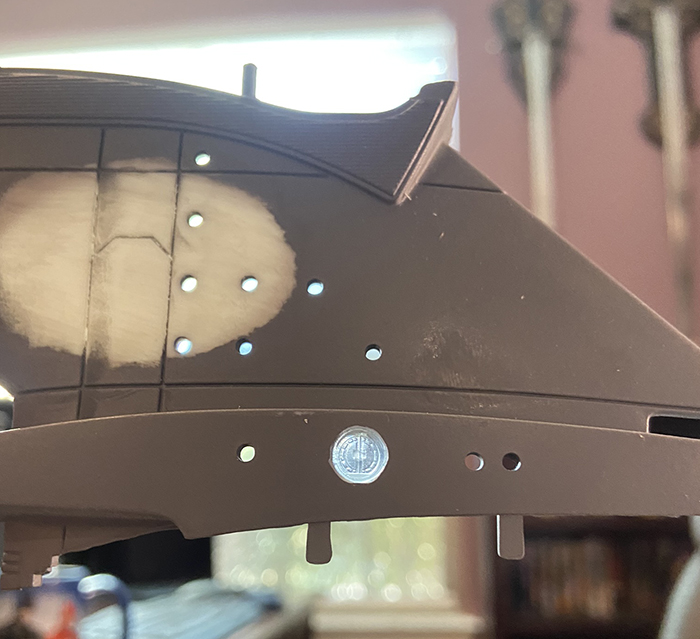
Replacement of kit docking port with 3D printed part from Spaceways. Repeated this in four locations.
04/16/2023 update
Starting to assemble the secondary hull.

04/21/23
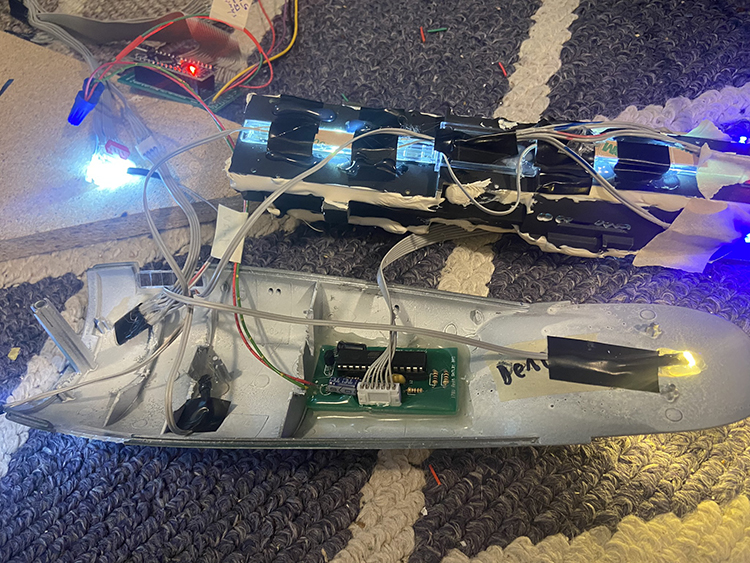
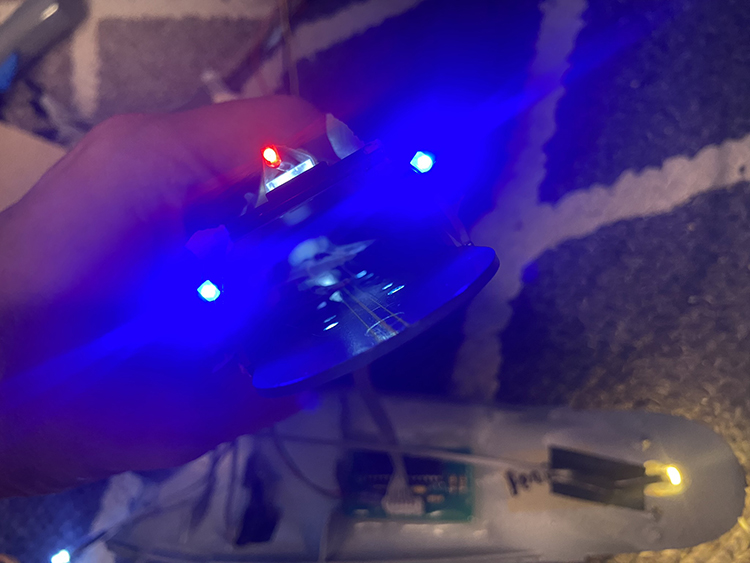
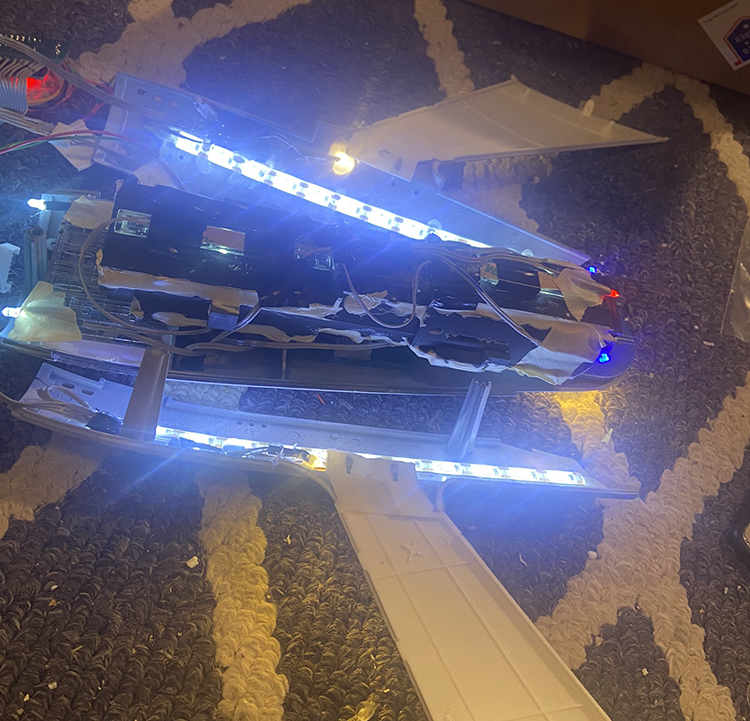
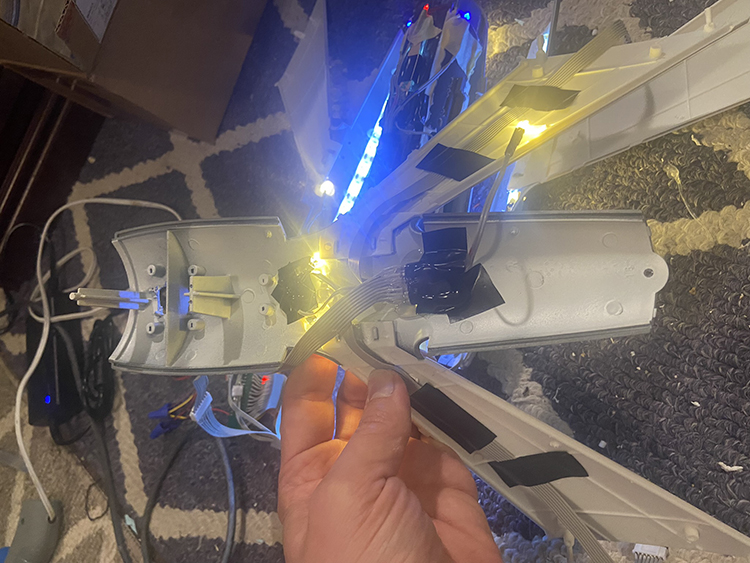
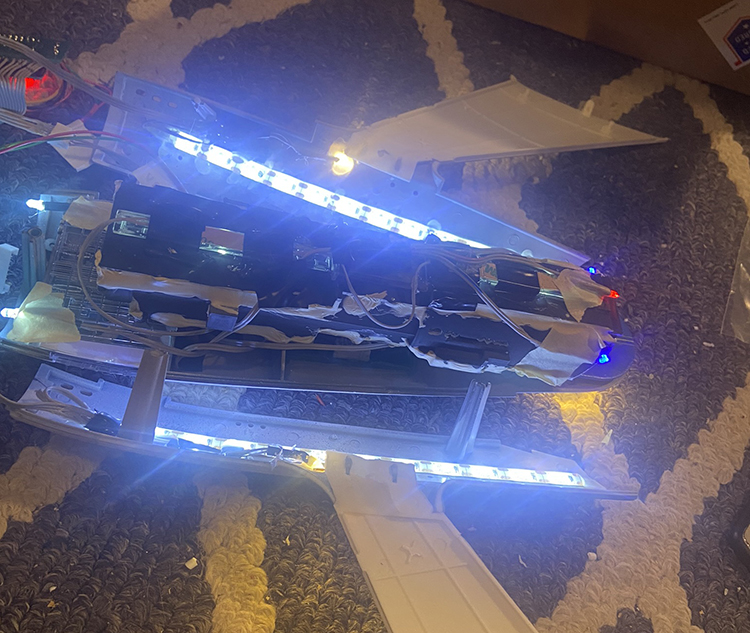
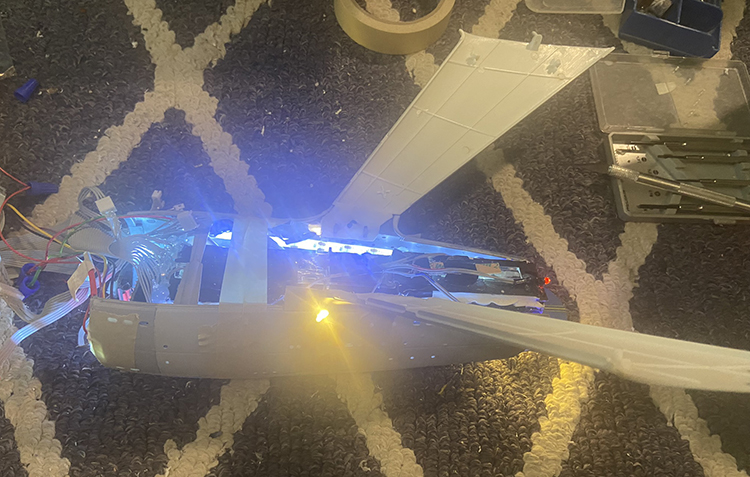
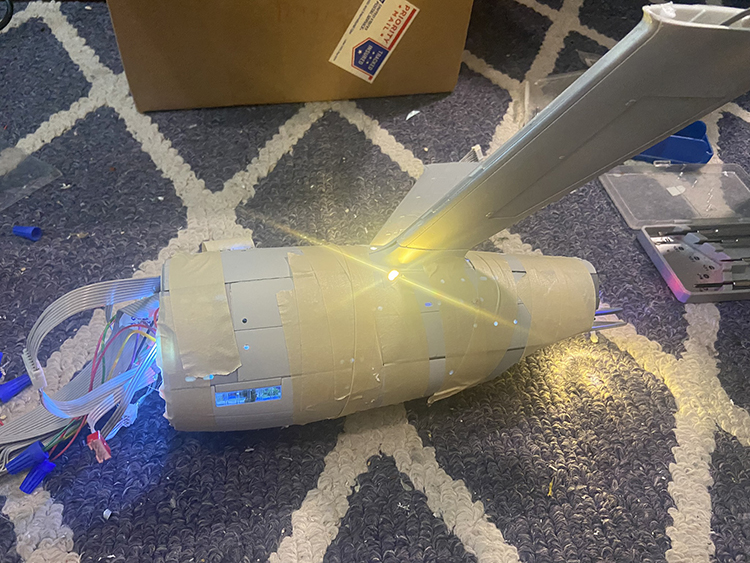
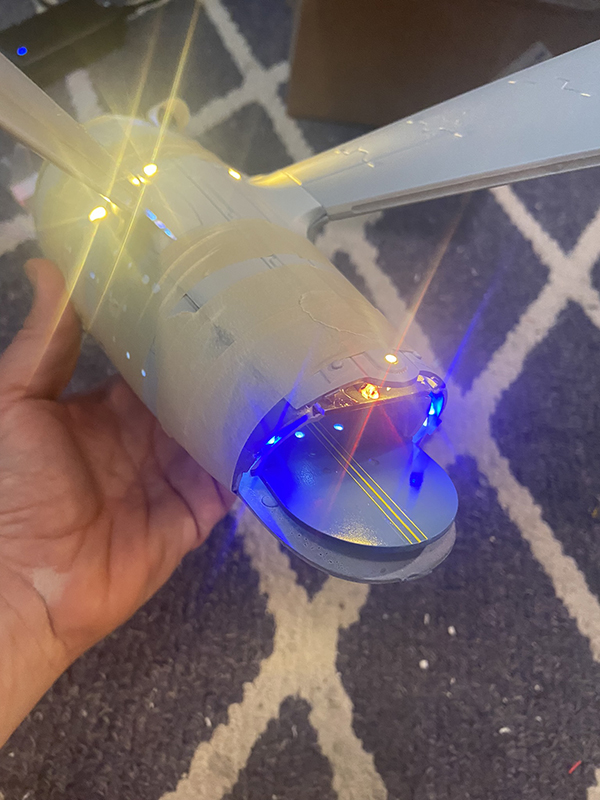
More work on the lighting of the secondary hull.
04/23/23
Assembling the secondary hull.

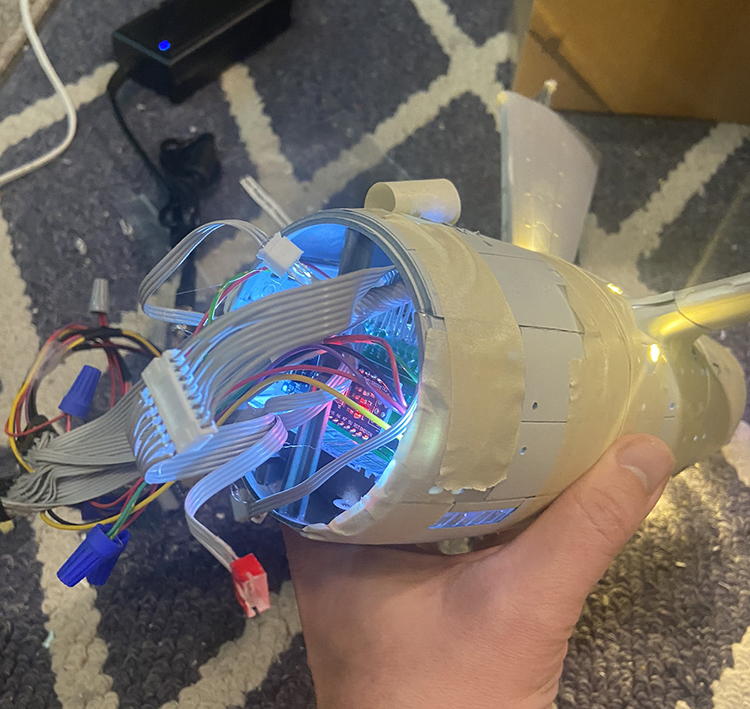
06/22/23
Closing gaps/sanding putty on the secondary hull.
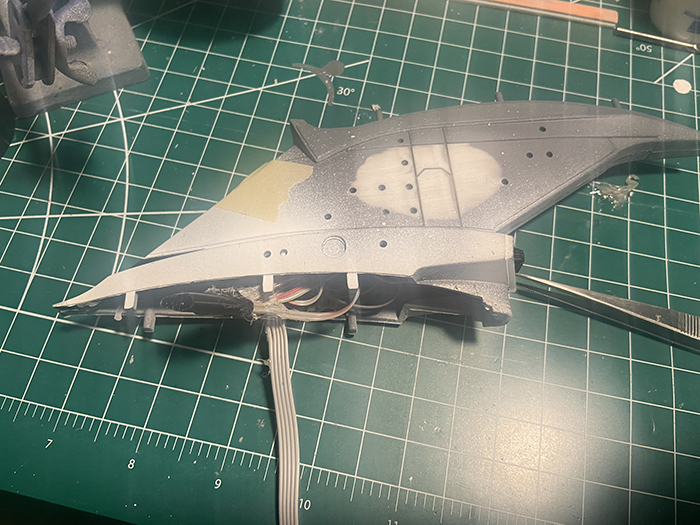
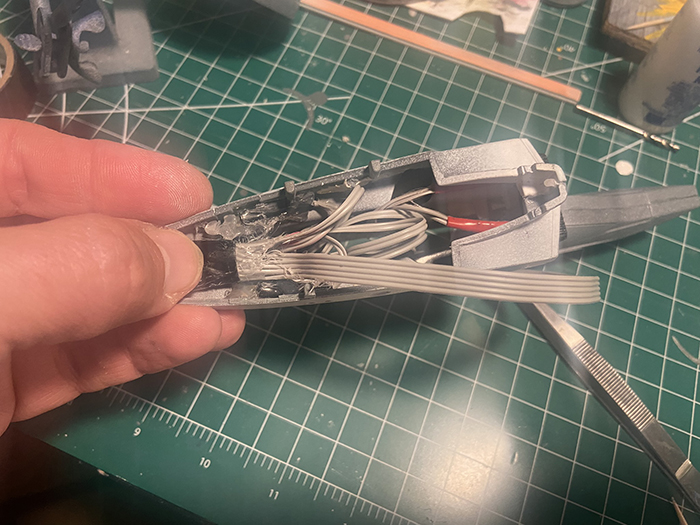
Assembling the neck.
Gluing the shuttle bay doorframe into place.
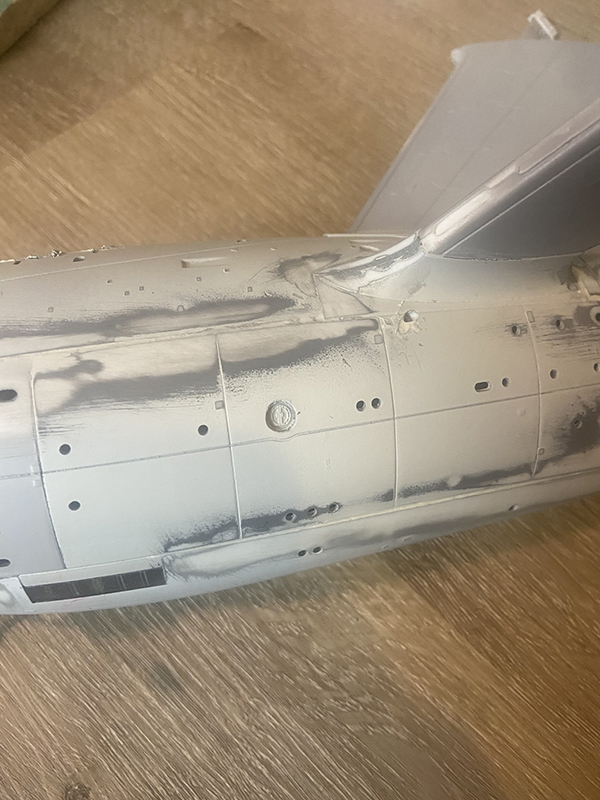
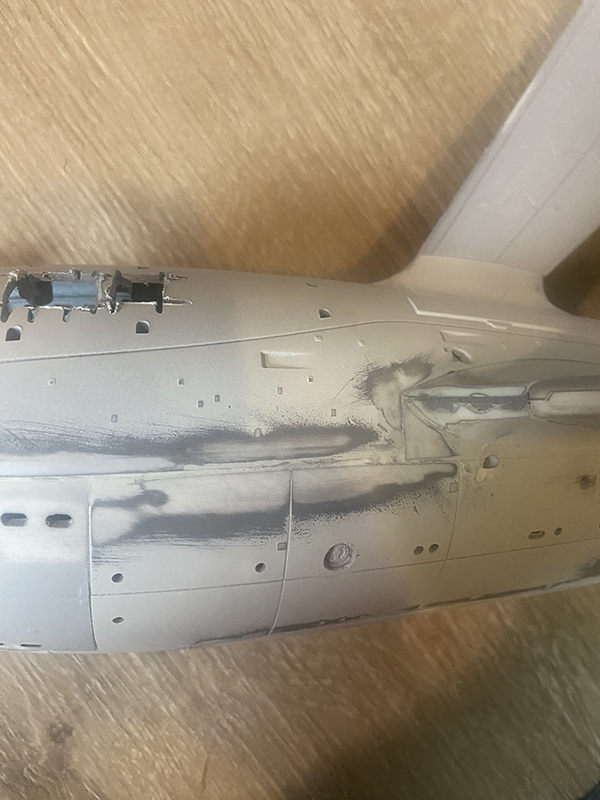
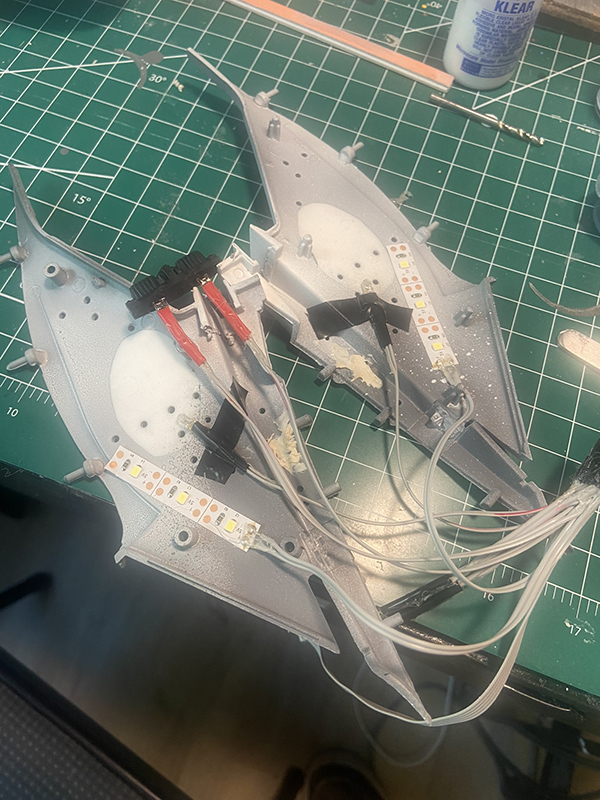
06/23/23
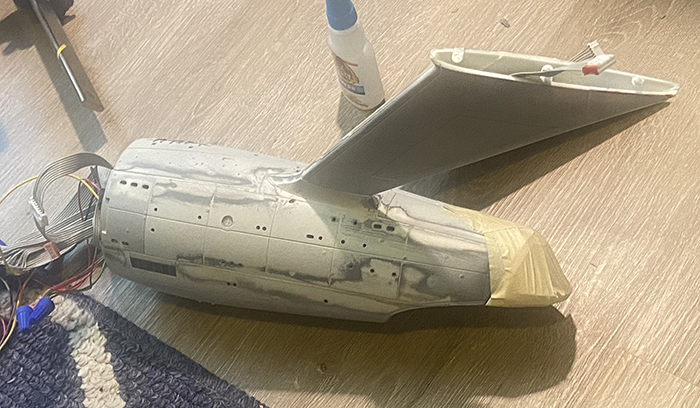
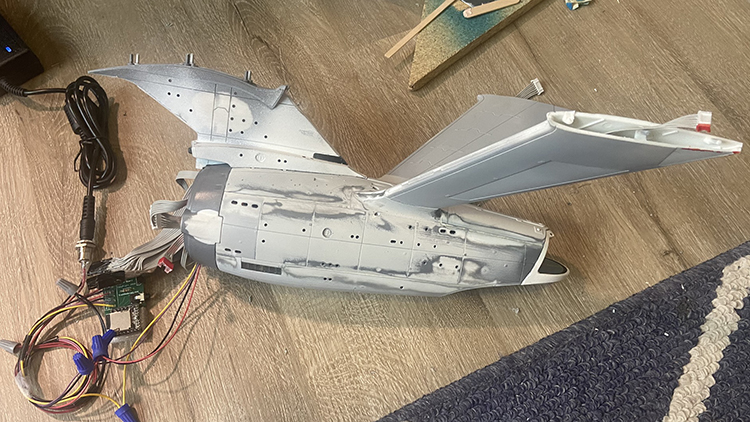
Attaching the neck assembly!
Also a view of the rear of the ship.
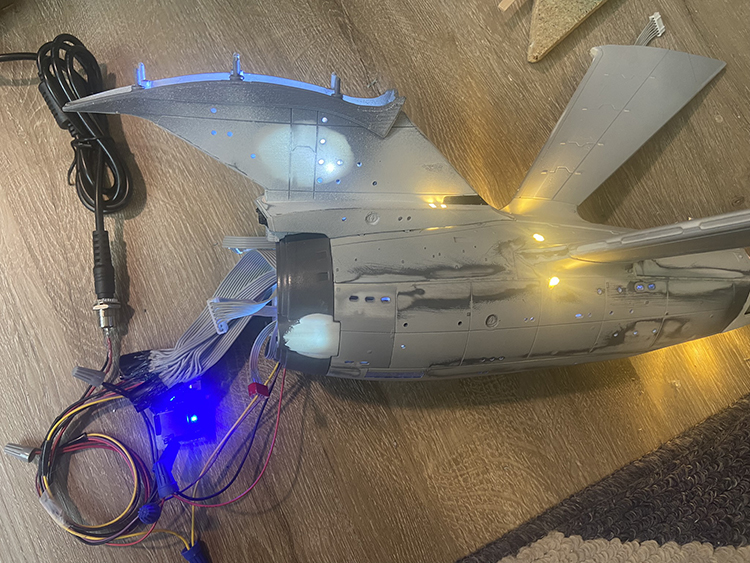
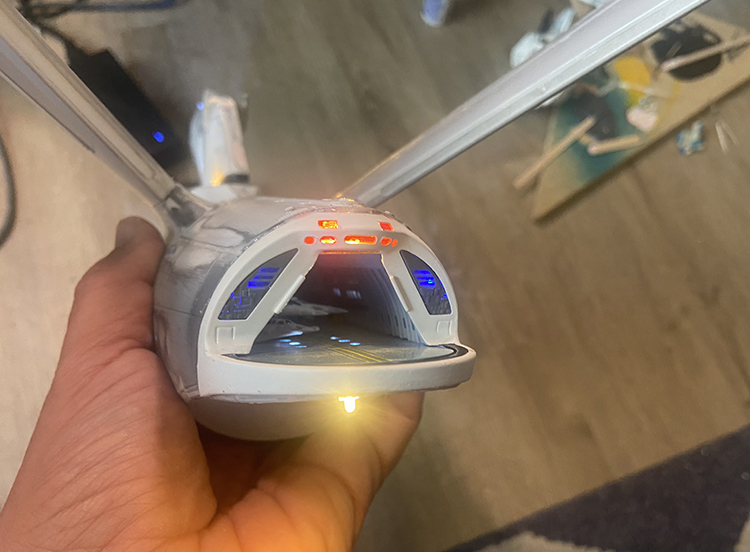
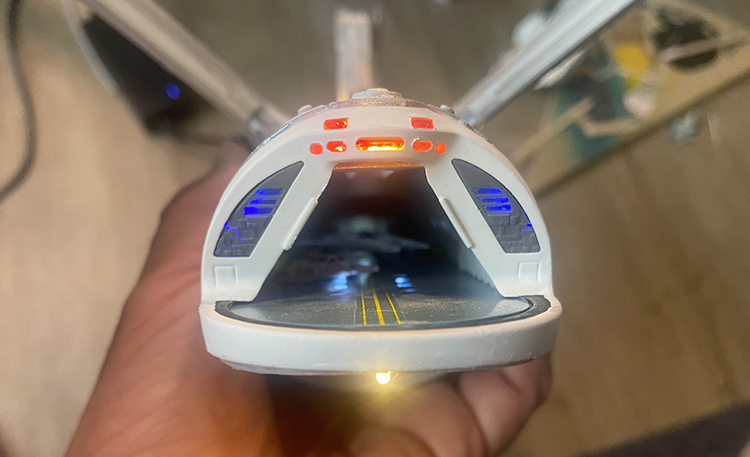
06/25/23
Base coat of paint applied. The base coat also reveals any areas that need more sanding or touch-up. I'll fine-tune those areas and then do another coat.
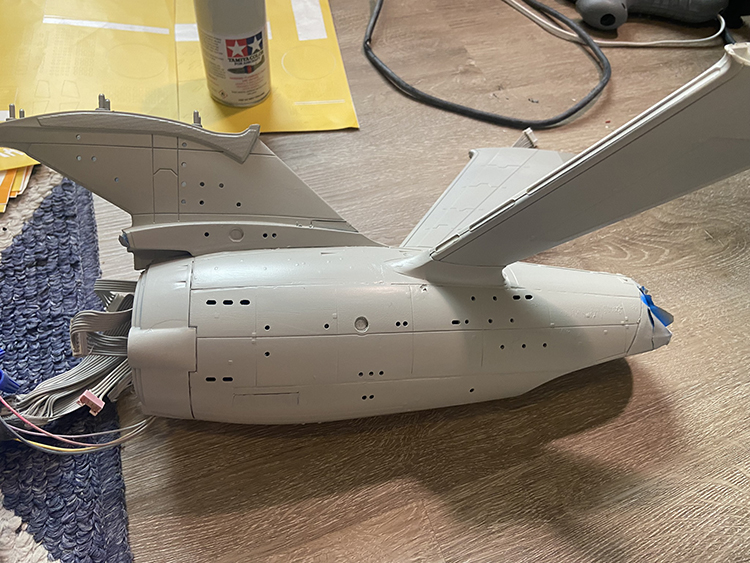
07/09/23
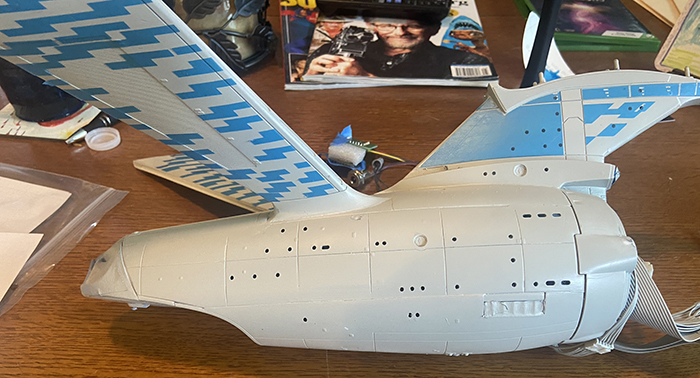
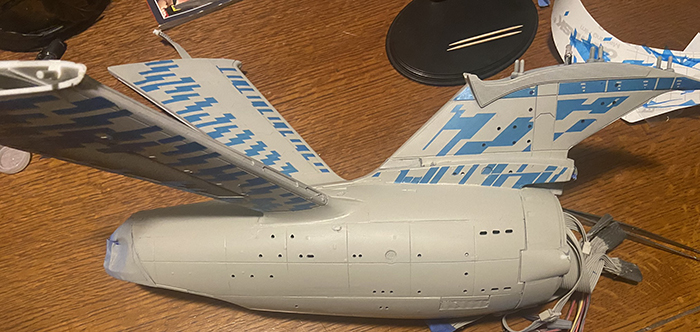
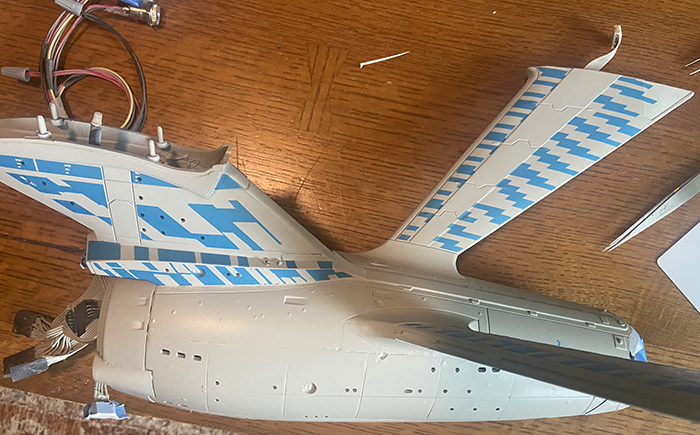
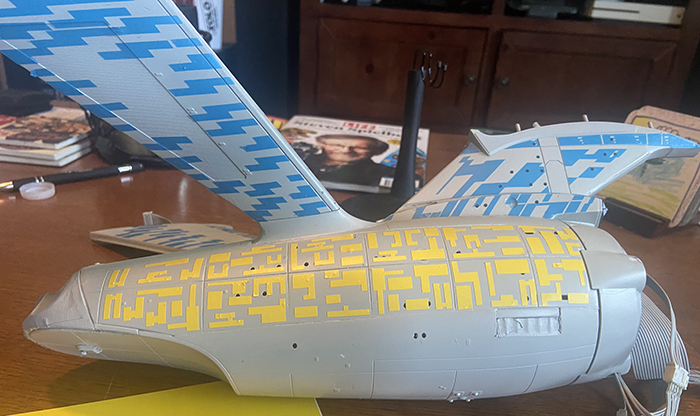
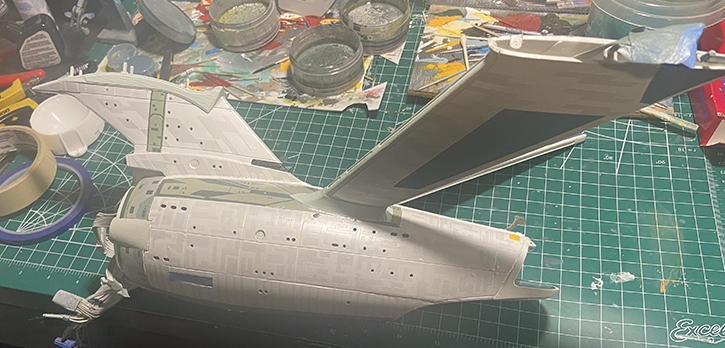
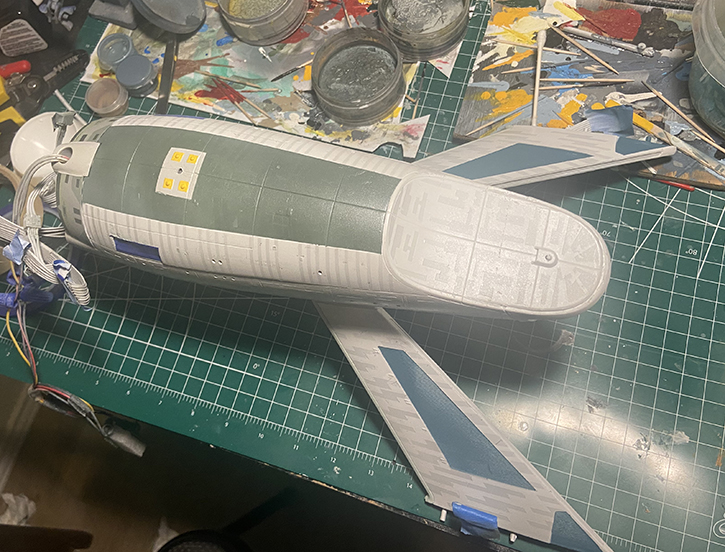
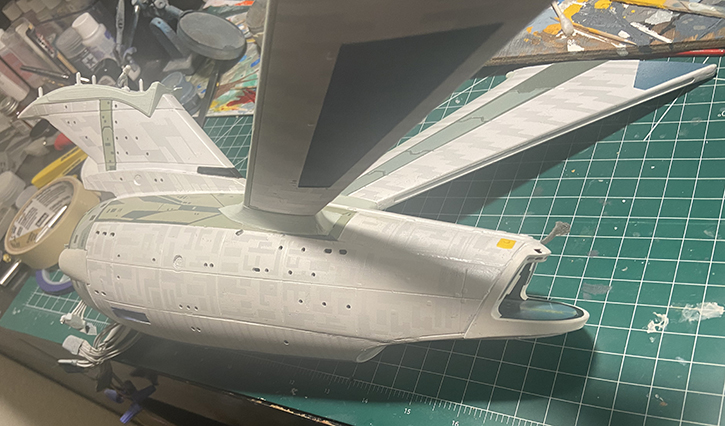
Applying Aztec masks to the secondary hull. This is one of the most time consuming parts of the build.
07/23/23
Most of the secondary hull is done/painted. I had an issue with the arboretum windows and will be doing those over with photo-etch pieces. There's one thing more to paint, and then I'll be setting this section aside to work on the base, the warp nacelles, and the saucer (probably in that order).
08/31/23
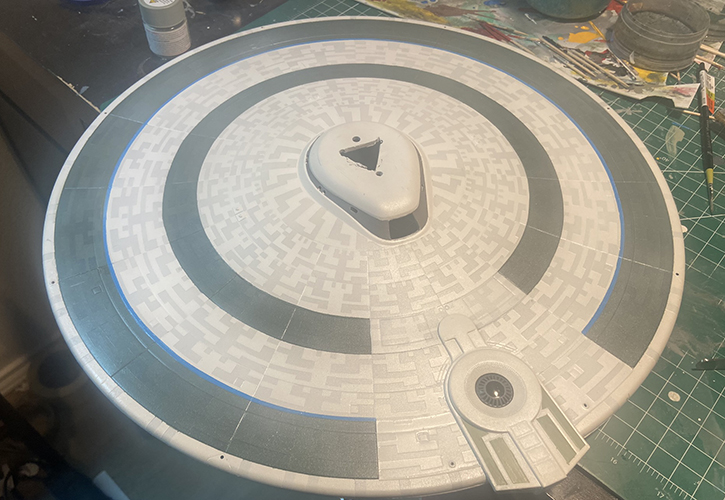
Printed the decals and started working on the saucer.
09/10/23
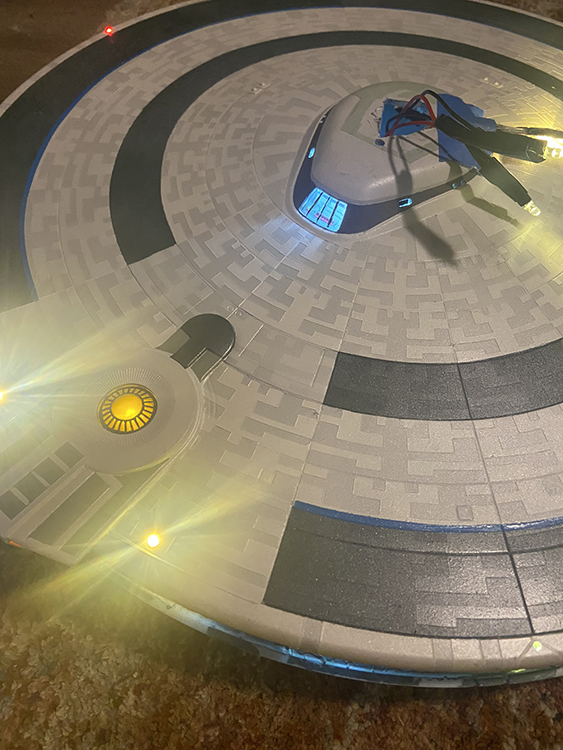
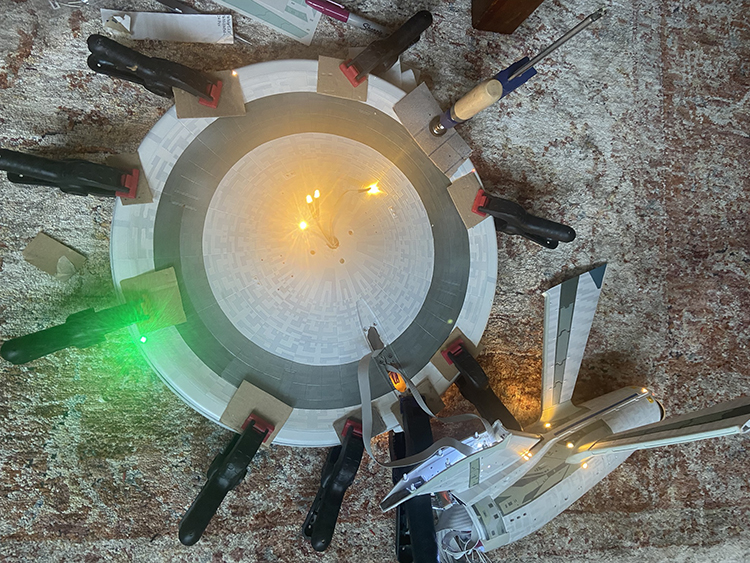
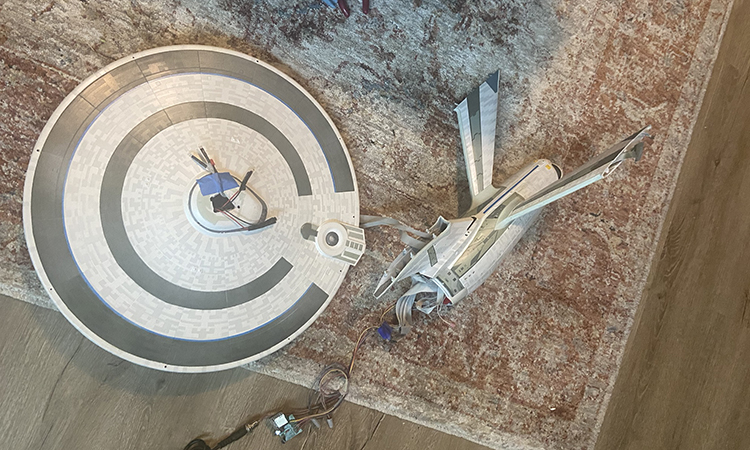
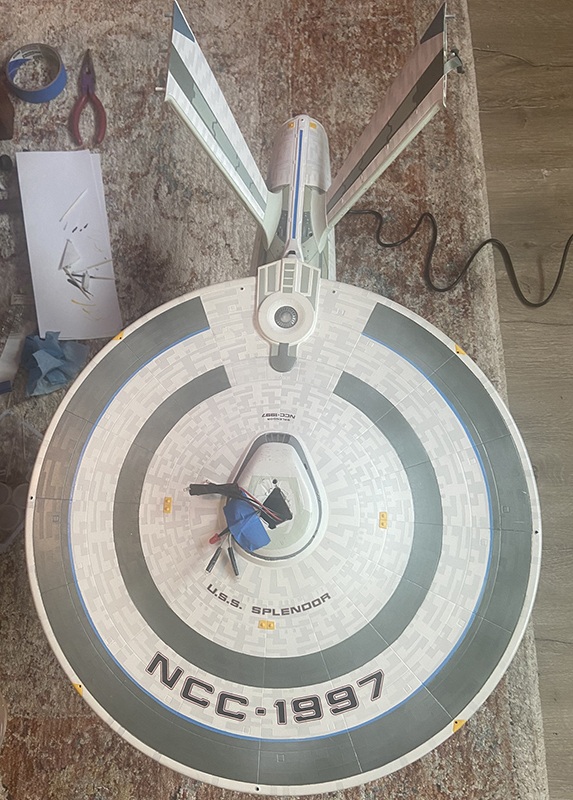
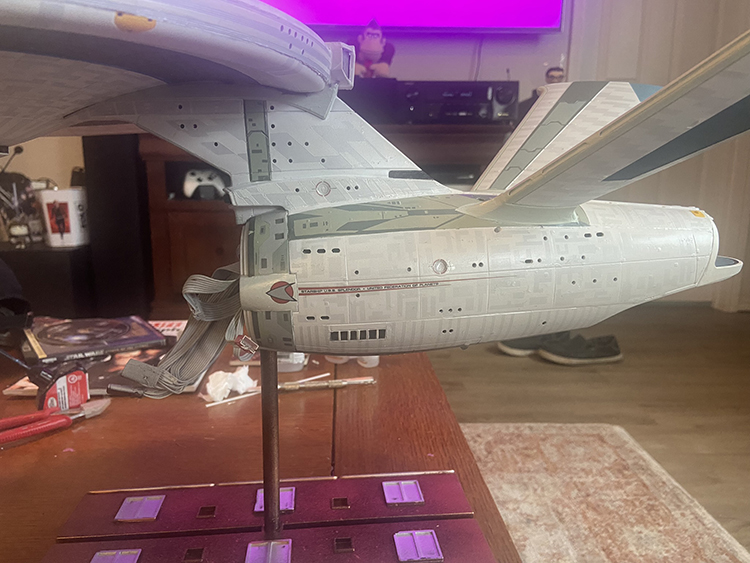
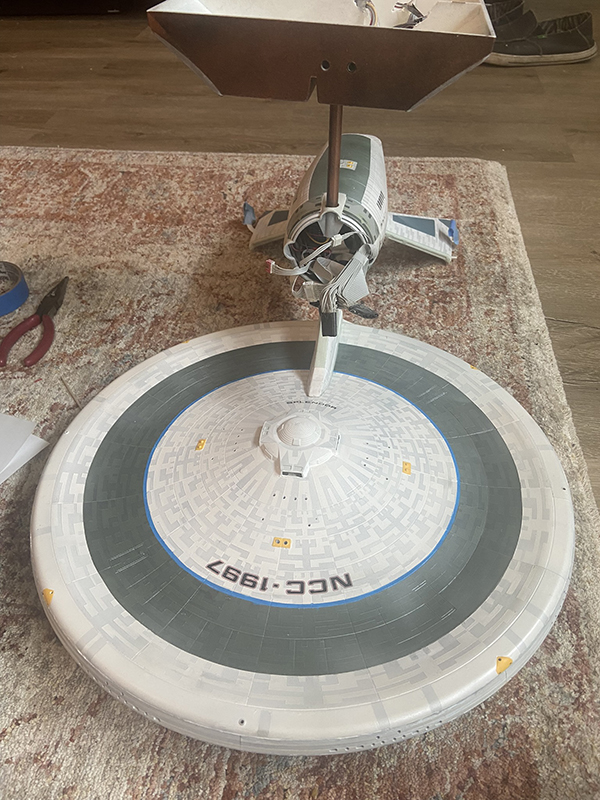
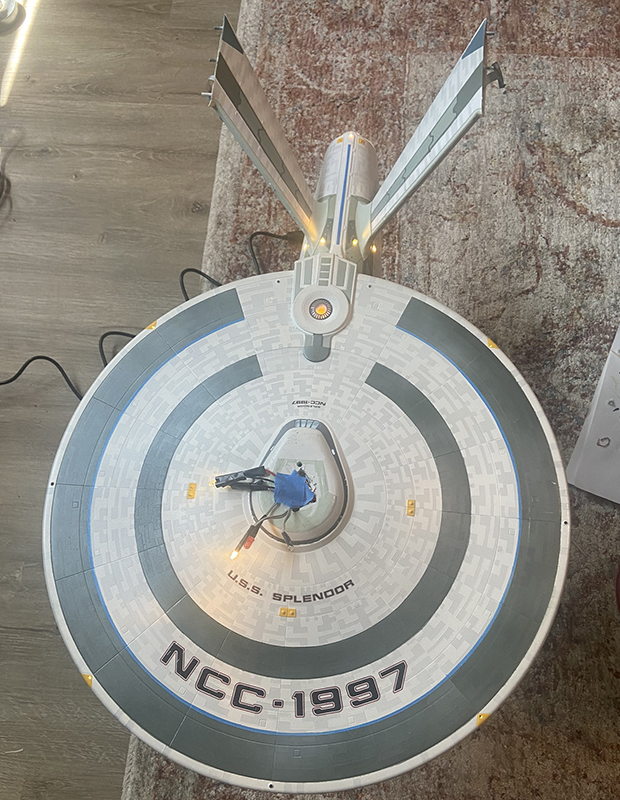
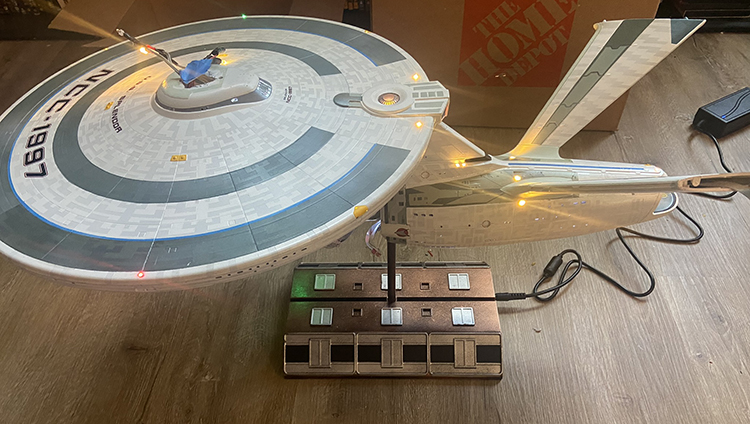
Significant progress...
09/23/23
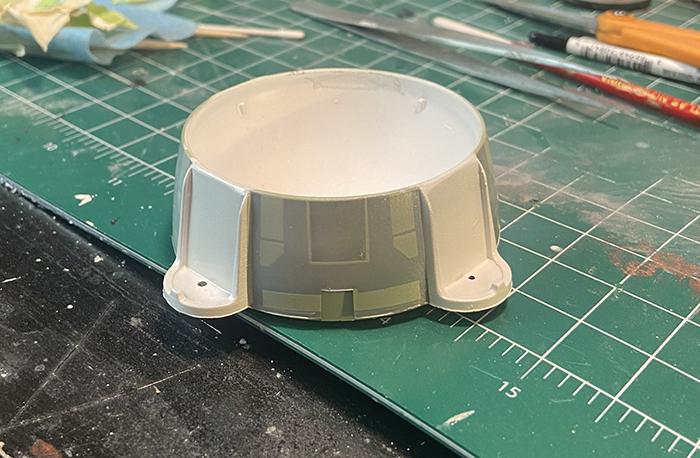
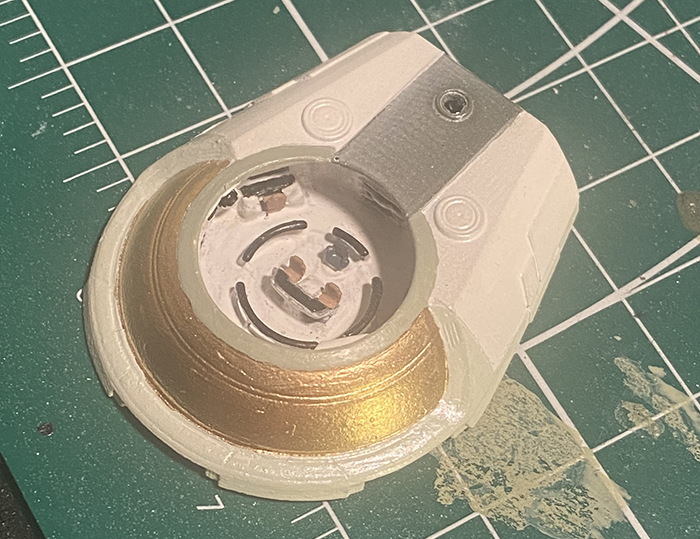
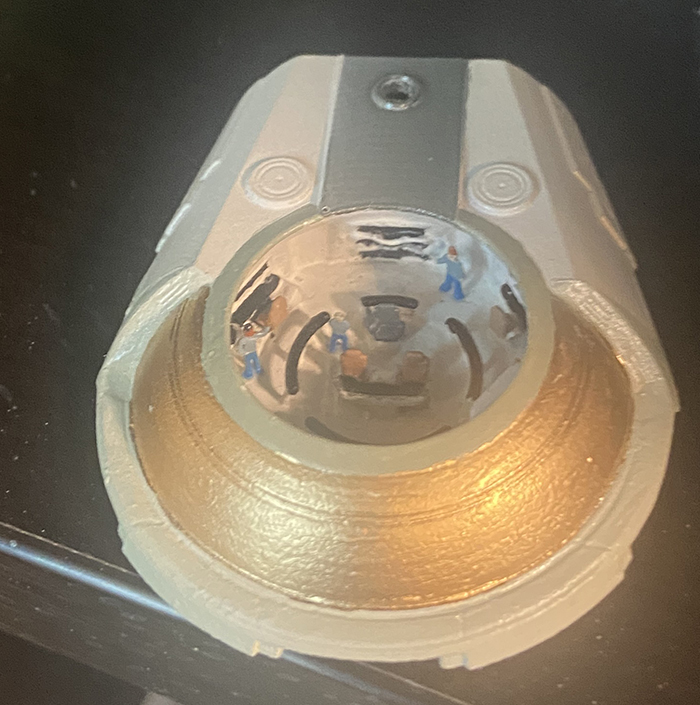
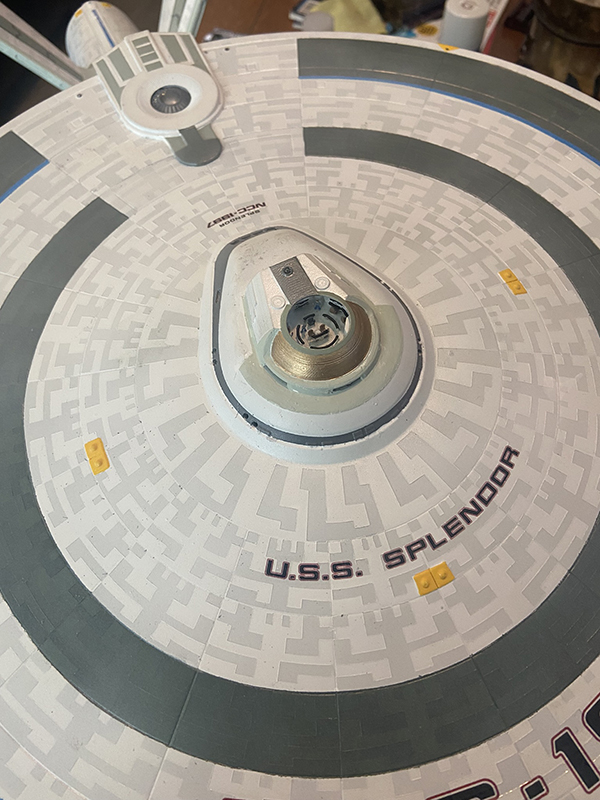
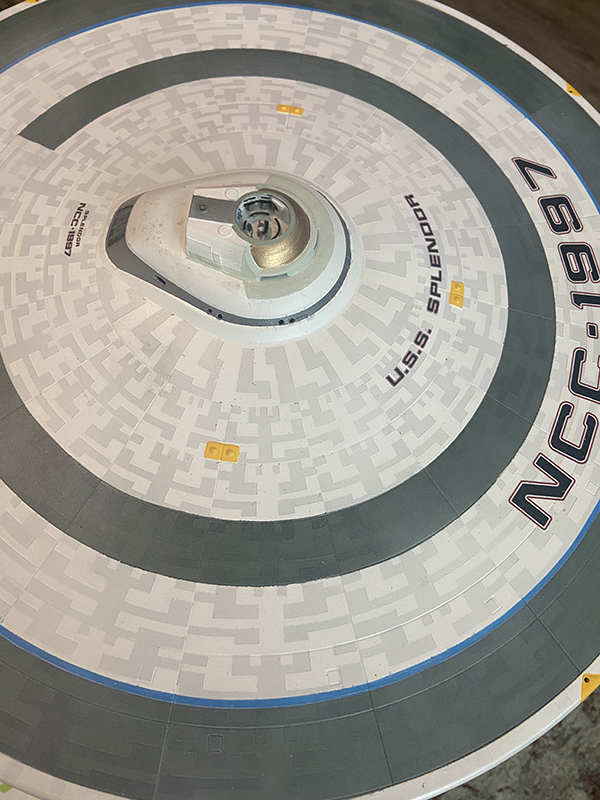
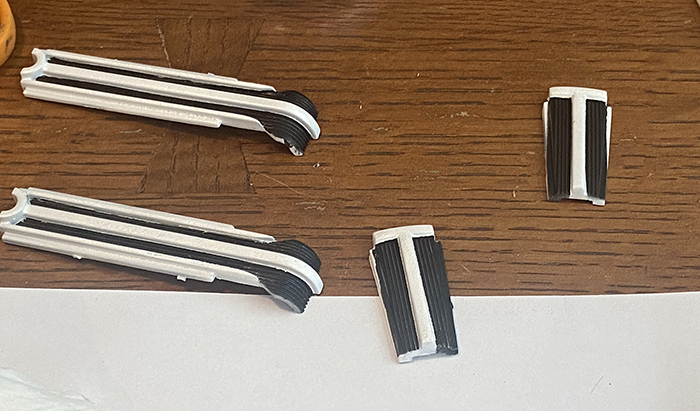
Painted deflector dish housing... Finished the bridge and added tiny crew members. Added the bridge to the saucer. Now working on warp engines. Final photo is masking the warp engine grills, one of the trickiest parts of the painting on this model.
10/13/23
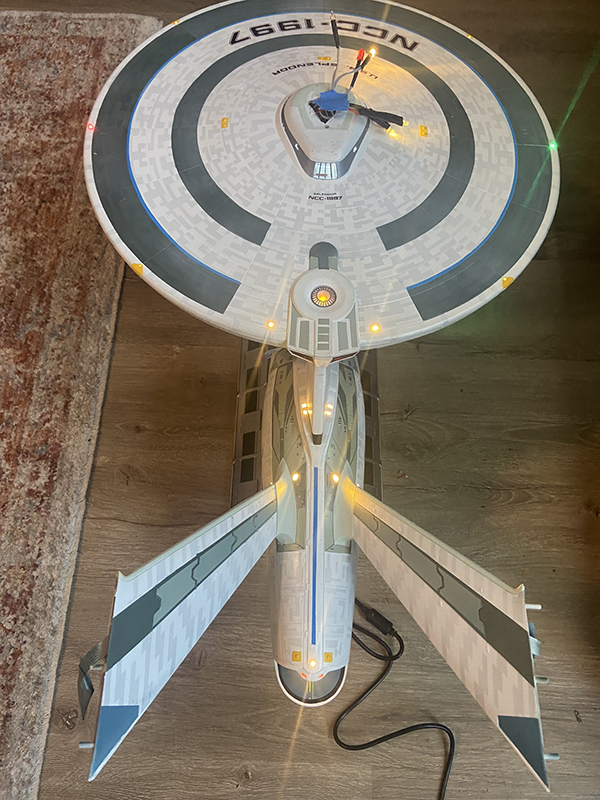
After several problems with the sound system, I finally finished her. Ready to ship out.
