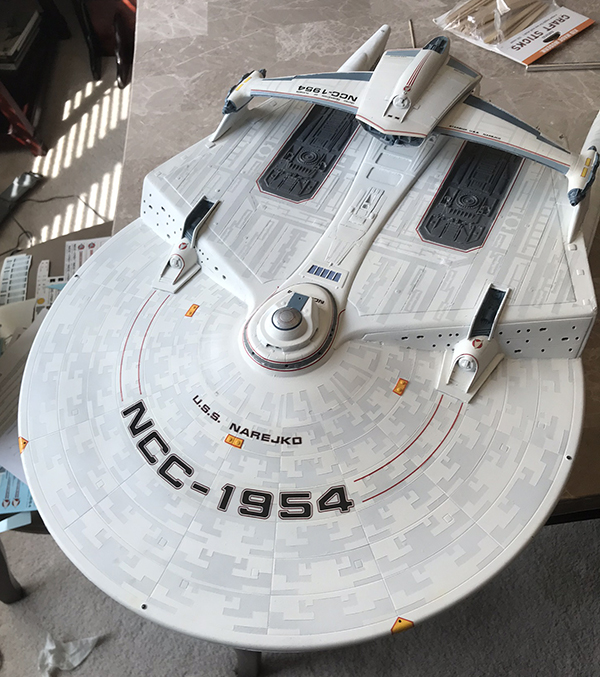
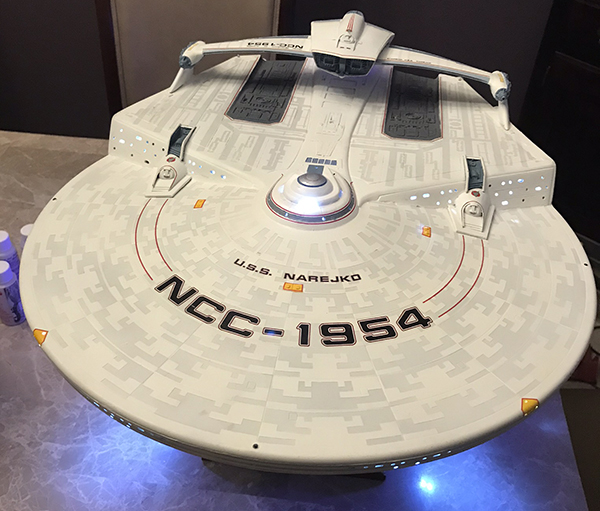
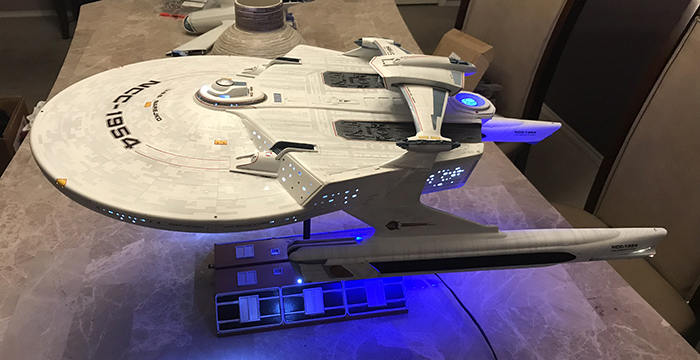
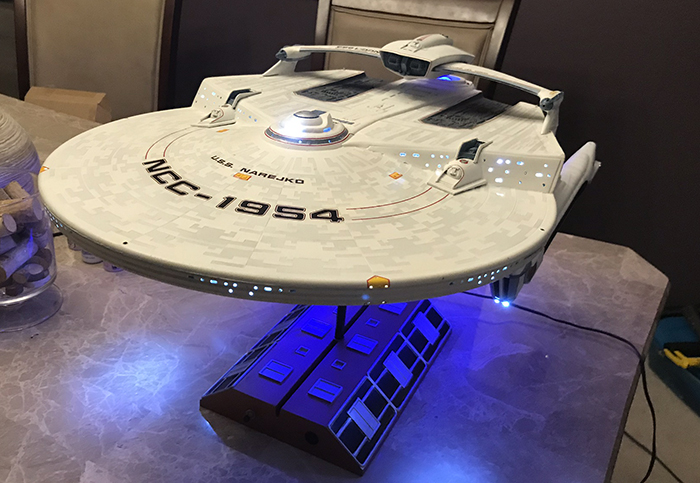
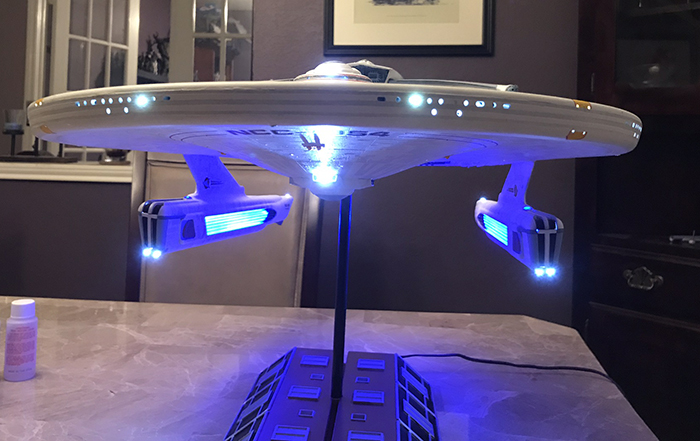
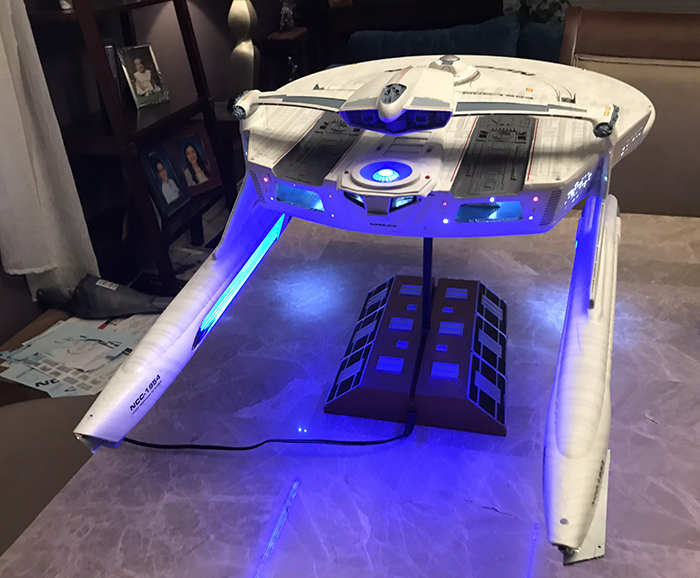
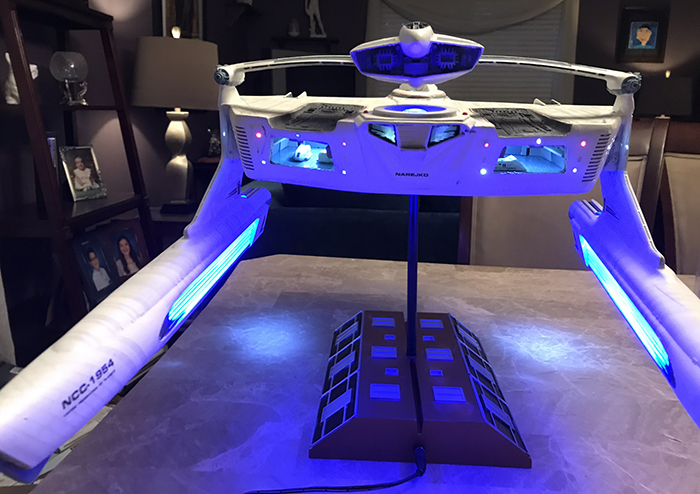
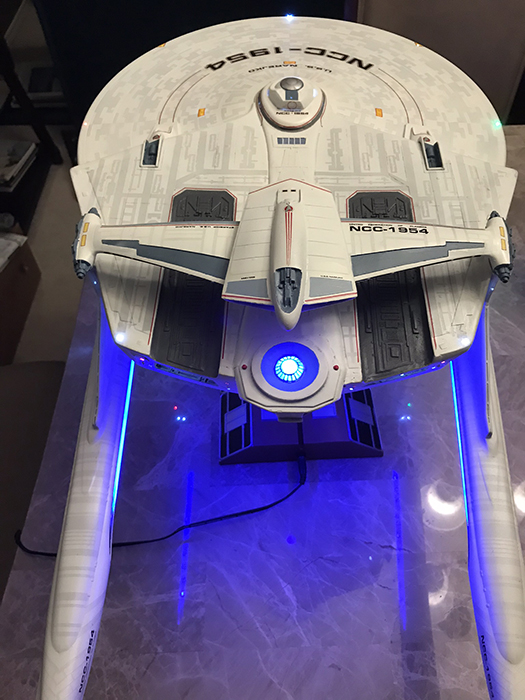
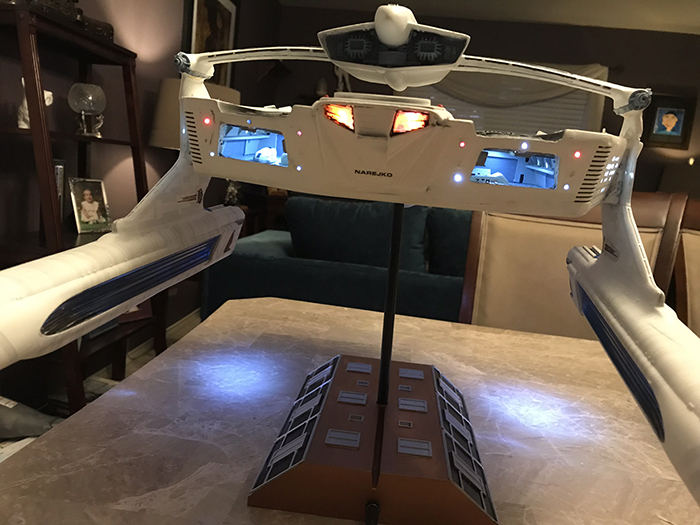
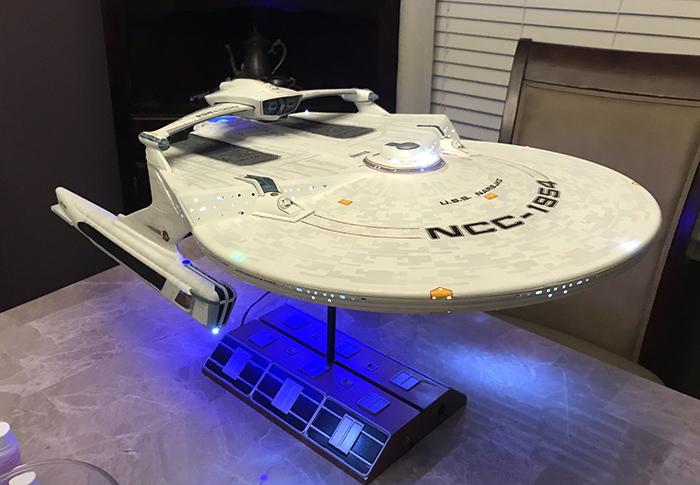
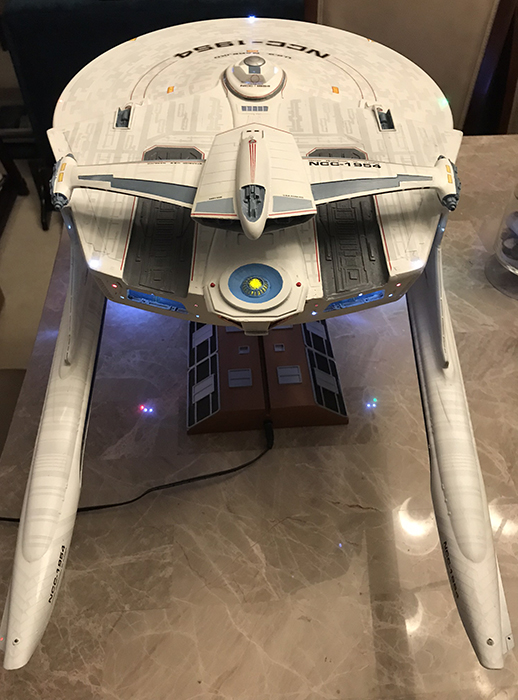
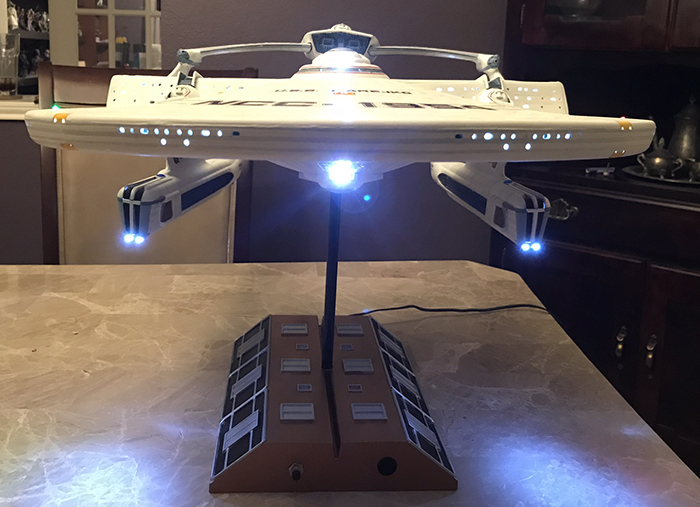
WIP: 1:350 Scale Reliant (Frank)
This build is a combination of the Polar Lights Enterprise Refit kit and a Reliant conversion kit produced by Don Shoko.
Per the customer's request, I plan to actually make this a Miranda-class ship, identical to the Reliant, but with a custom name.
I will be using the Refit lighting kit built by Trekmodeler, with some modifications of course.
Last update: 10/06/2019 - COMPLETE
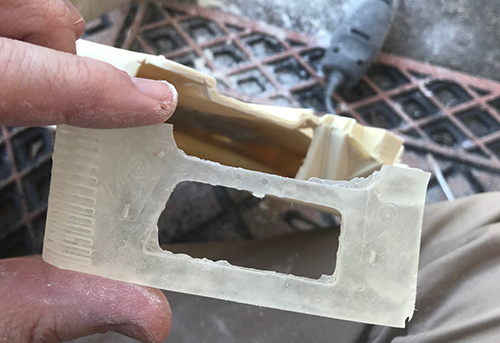
The resin conversion parts require a good bit of cleanup. On this build, I'll be installing two shuttle bays, requiring me to cut out two sections of the rear hull to replace with clear sections. I also must cut large holes into the bottom of the hull to facilitate lighting.
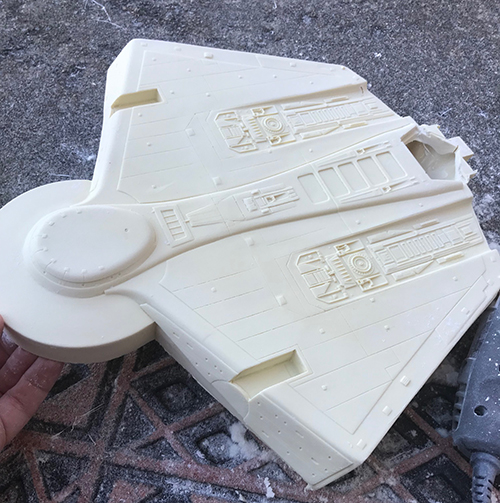
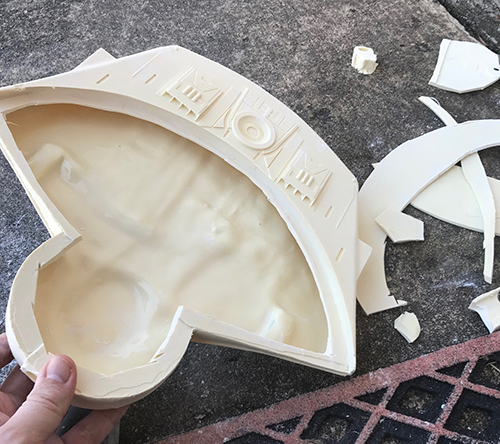
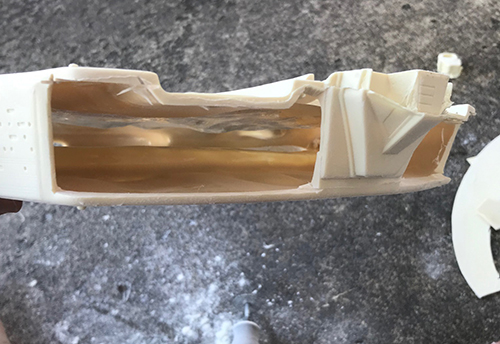
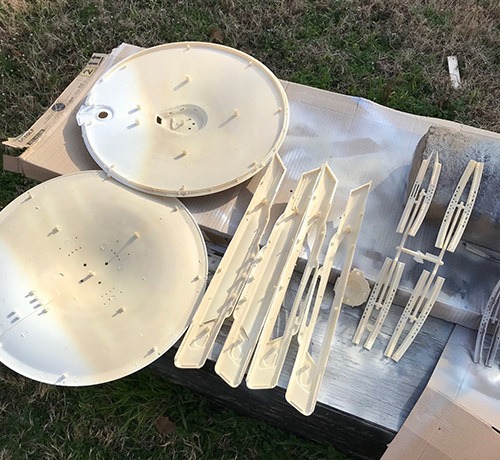
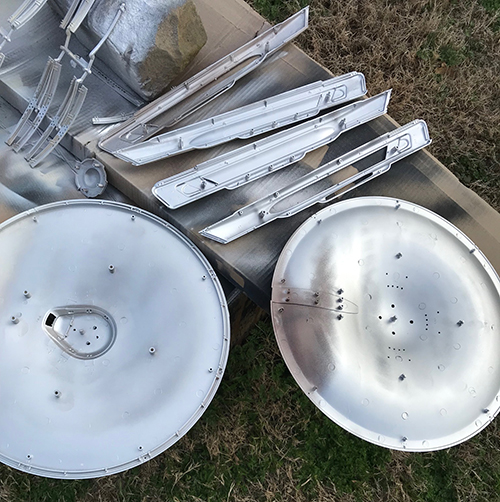
Light blocking the pieces from the 1/350 Polar Lights Enterprise Refit kit that will be used in this build. Several coats of paint are used to block light, starting in this case with a sand color; the last coat is a silver that will help reflect light to fill the body. With the saucer halves, you'll see I didn't fully paint the rear of them - that's because I'll be removing the back of the saucer to fit to the Reliant body.
Painting shuttle bay walls.
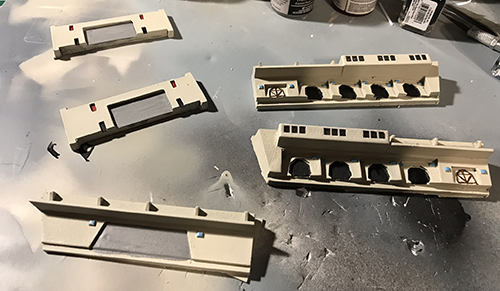
Shuttle bay floors.
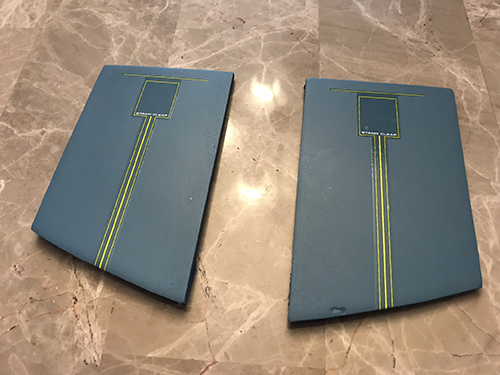
Shuttle bays minus the ceilings.
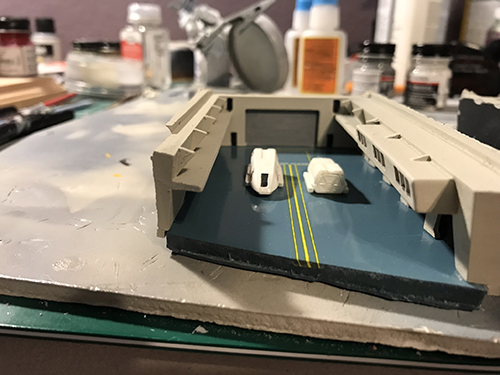
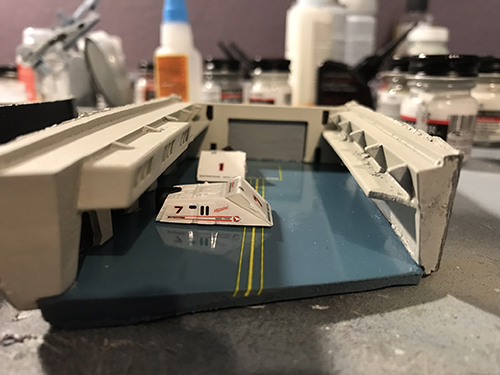
The resin hull has been prepped... The frames around the shuttle bay were replaced with open bay versions; the housing for the crystal was attached and clear impulse engines have been attached (covered by tape in the photo). The shuttle bays are done and ready to be reshaped to fit into the hull - the floors and ceilings need to be thinned. Finally, the upper saucer from the PL Enterprise kit has been cut to fit to the Reliant hull.
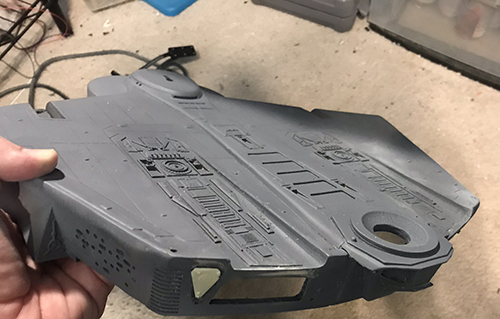
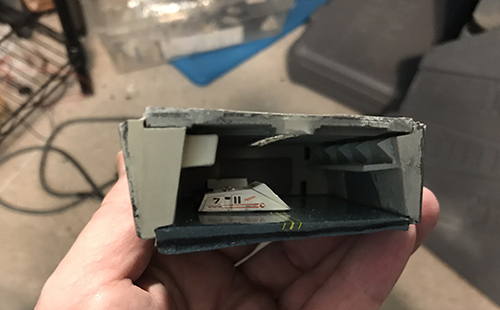
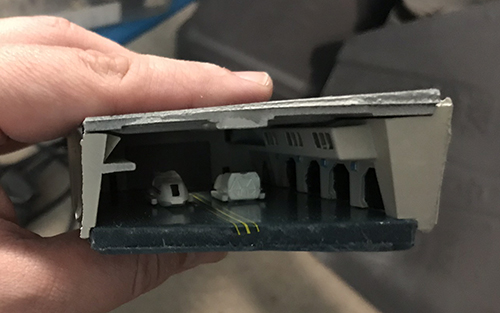
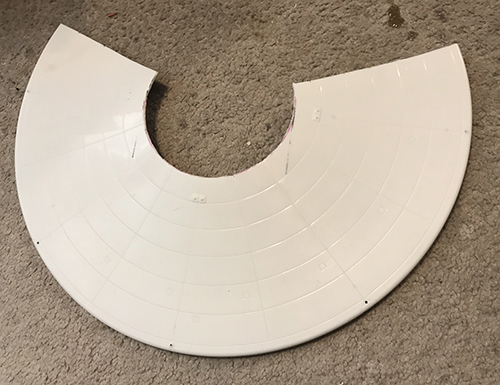
Beginning to wire the hull for lighting.
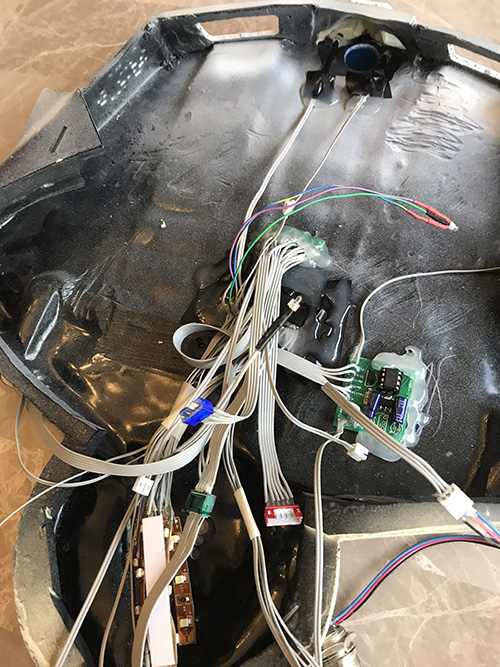
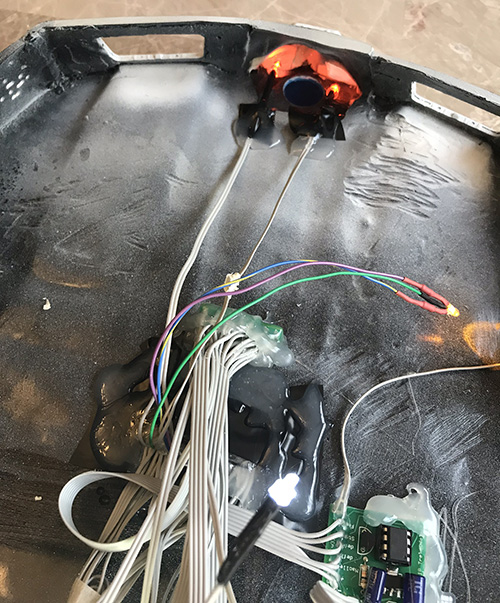
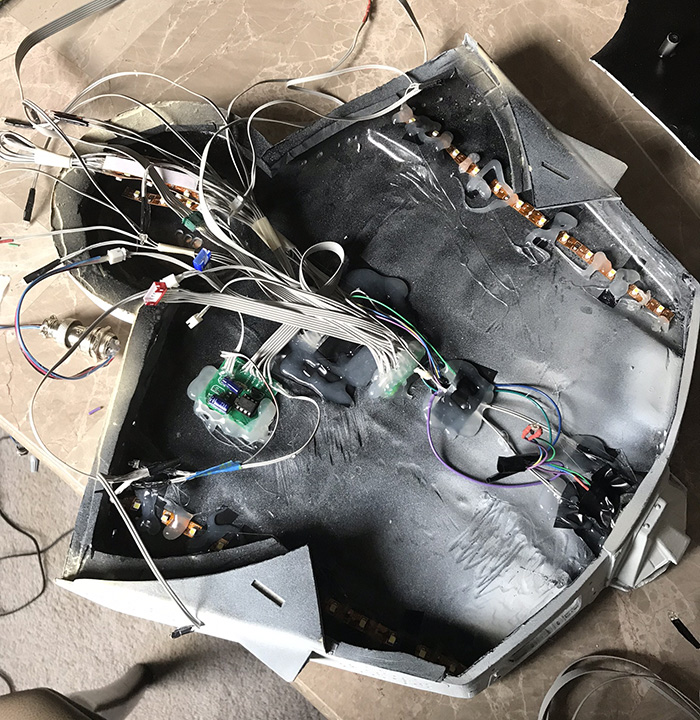
More wiring. Shuttle bays in place. Lower saucer wired.
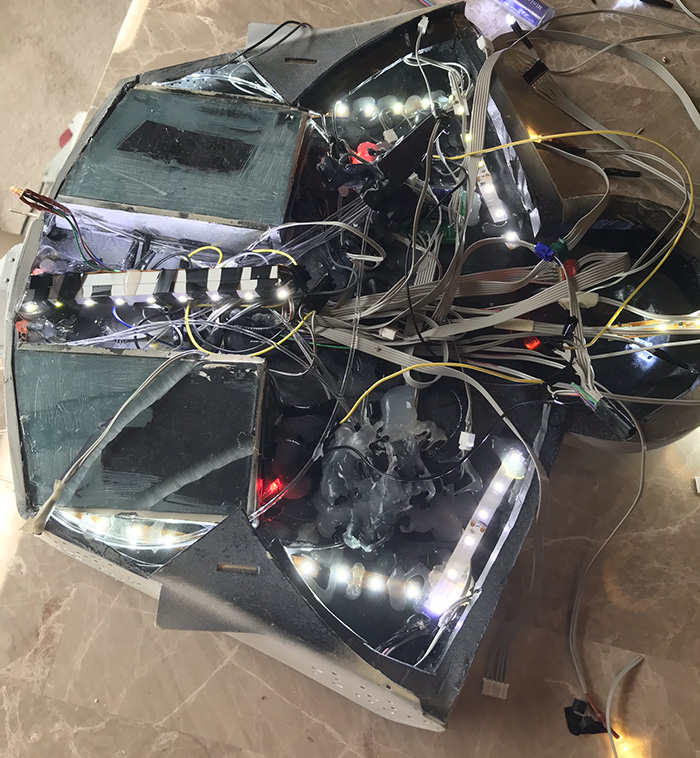
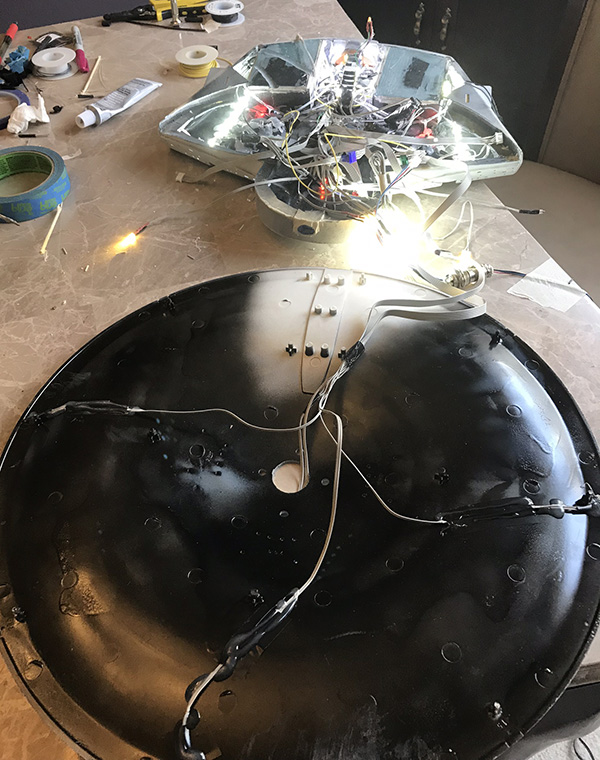
Upper saucer half attached to the body.
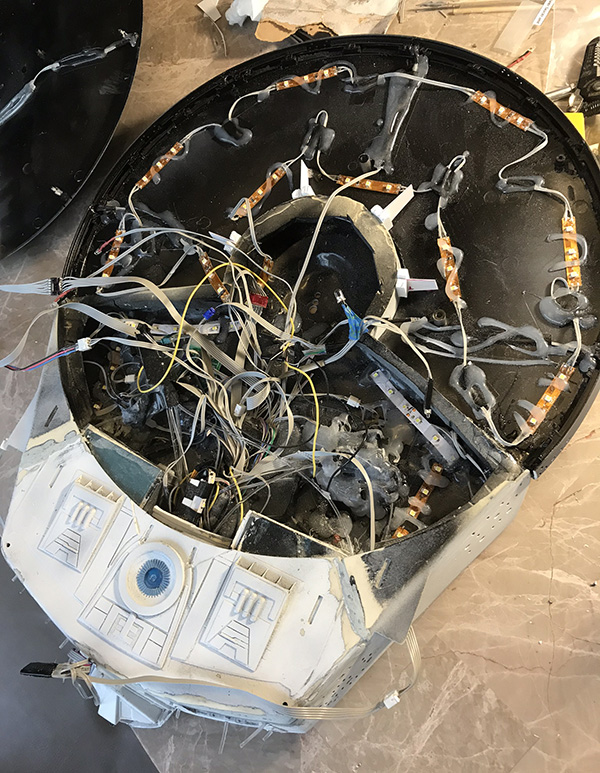
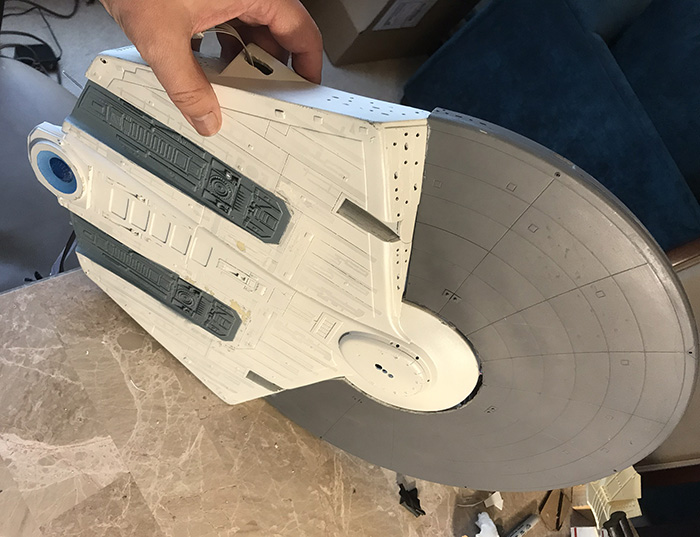
More progress toward assembling the main body, including filling gaps and sanding. The original paintjob I did on the back of the hull will need to be sanded down/stripped and repainted. I discovered I had not done a good enough job cleaning off mould release from the resin hull pieces, resulting in paint peeling when I unmasked some areas. I got a new set of masks from Aztec Dummy.
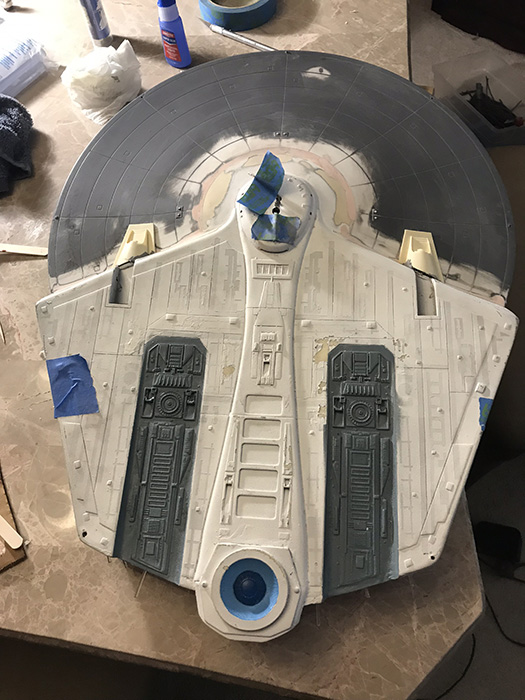
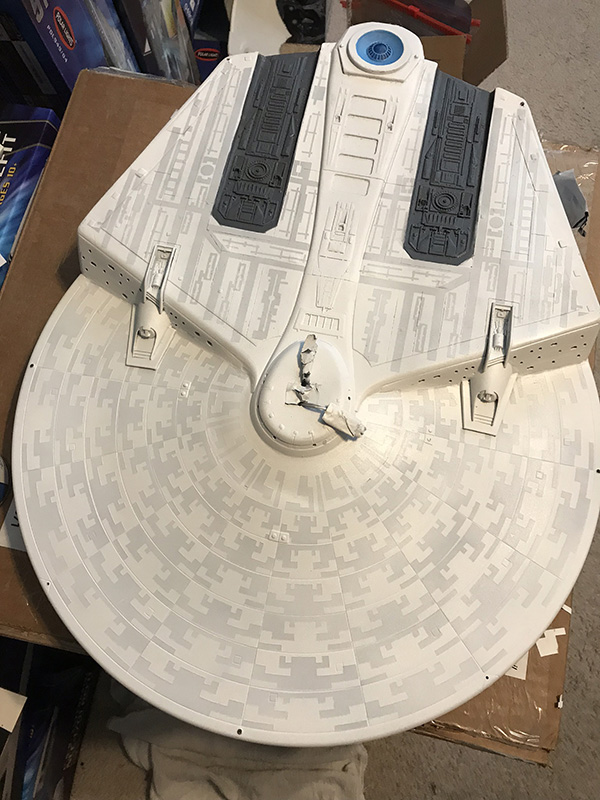
Finished the hull and primed it...
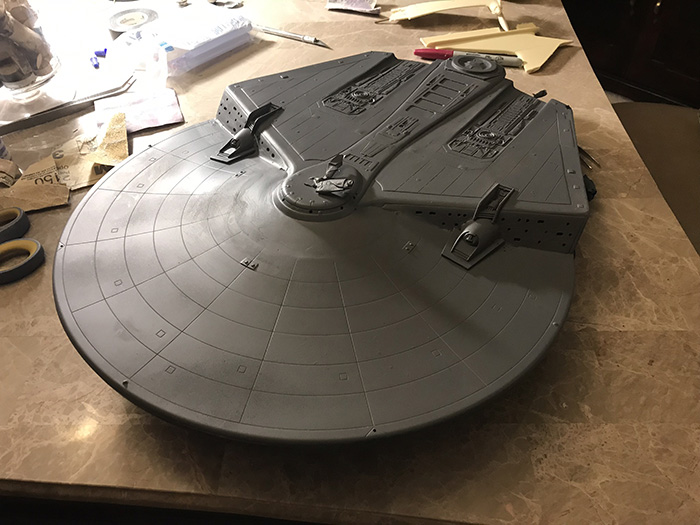
First color painted on, then masked for application of second color...
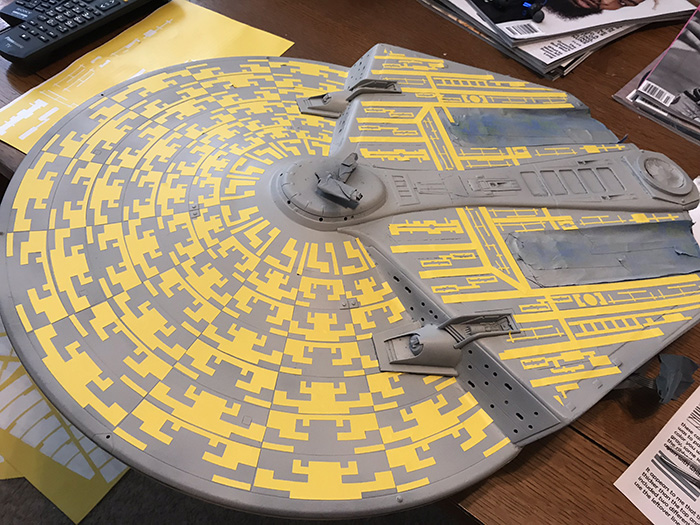
Basic painting done on the hull!
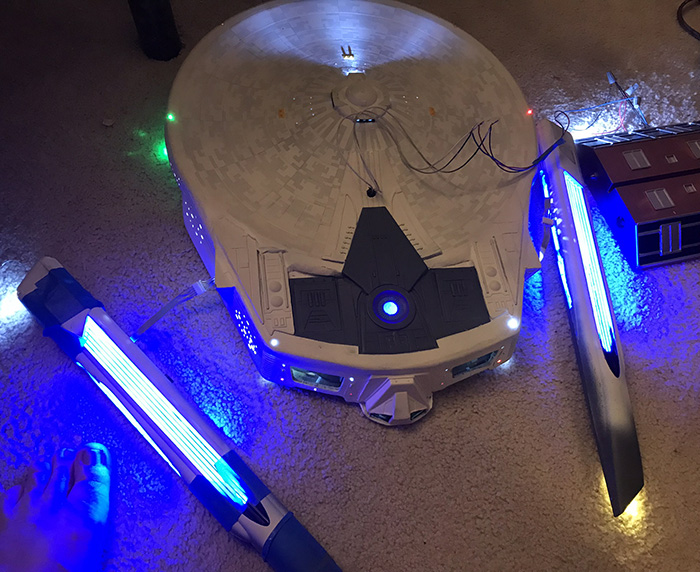
Lighting done on the nacelles...now testing the whole lighting system.
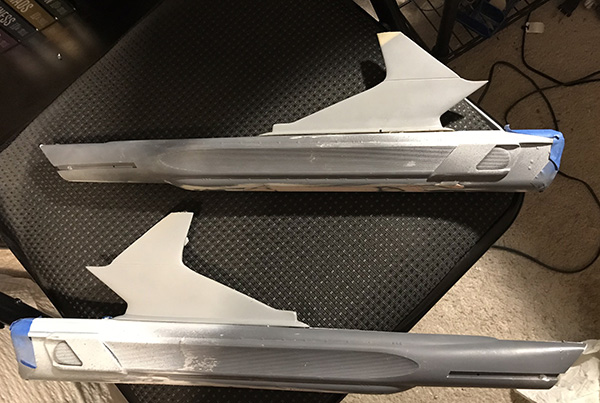
Modifications done to the nacelles...The bottoms of the warp engines had to be filled in/shaped, and pylons attached to from the top. Next, I'll patch the tops with putty and sand down, then paint.
Engines done and attached to the body. Getting really close to the end now.
Completed!
