WIP: 1:537 Scale Enterprise Refit (Tim)
This build is the Round 2 1:537 scale Enterprise Refit, which is manufactured from the molds of the old AMT movie Enterprise kits from the 80s and 90s.
The kit has some pretty significant inaccuracies, but fortunately there are several third party vendors who've designed after-market replacement parts to make the ship more screen-accurate. Some of these are resin parts and others are photo-etch details.
I'm using several replacement parts from Wiley Coyote's Workshop as well as some photo-etch replacement parts, in addition to internal details like a shuttle bay, arboretum, and officers lounge. I'll be lighting with a general Star Trek starship lighting kit made by TenaControls.
COMPLETED: 03/13/2022
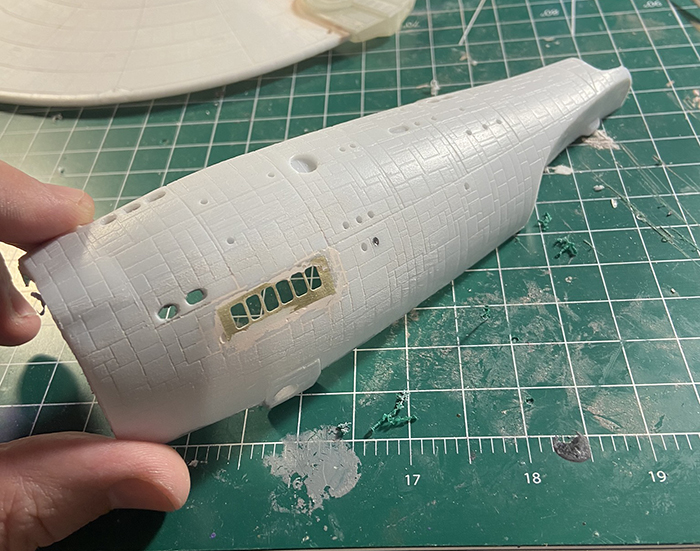
Starting on modifications to the secondary hull. The deflector dish section is a replacement part. I had to cut down the kit parts just a tad (~ 1/8 inch) to fit the new piece. I'm testing the fitting but not connecting at this point.
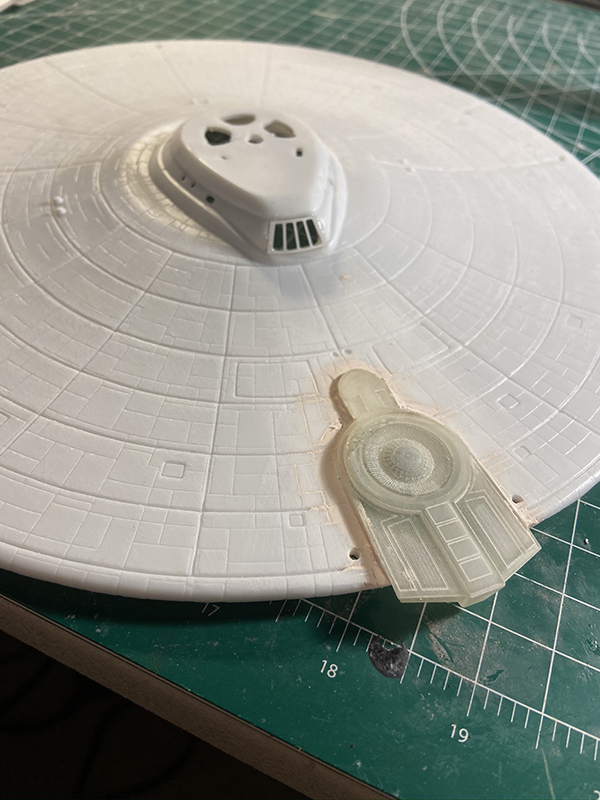
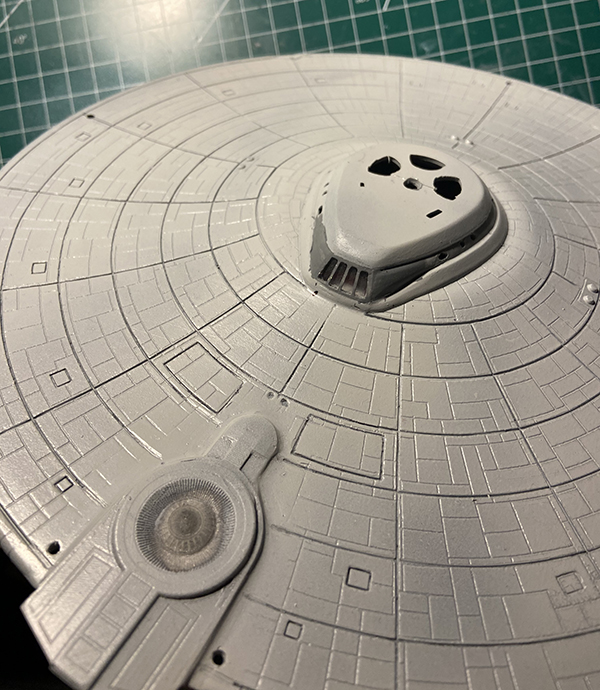
Next modification is to the saucer top. The impulse crystal and engine area are way off on the kit, so once again, I bought a replacement part that's very accurate. Here I've cut out the section from the saucer and am fitting the new piece into place.
Several steps of progress... Attaching the aftermarket photo etch observation lounge windows and the resin impulse crystal/engine... Cutting out windows on the secondary hull and then inserting photo-etch arboretum windows, setting them flush with the hull, and smoothing down...and adding aftermarket improvements to the saucer as well as cutting to fit the new impulse engine.
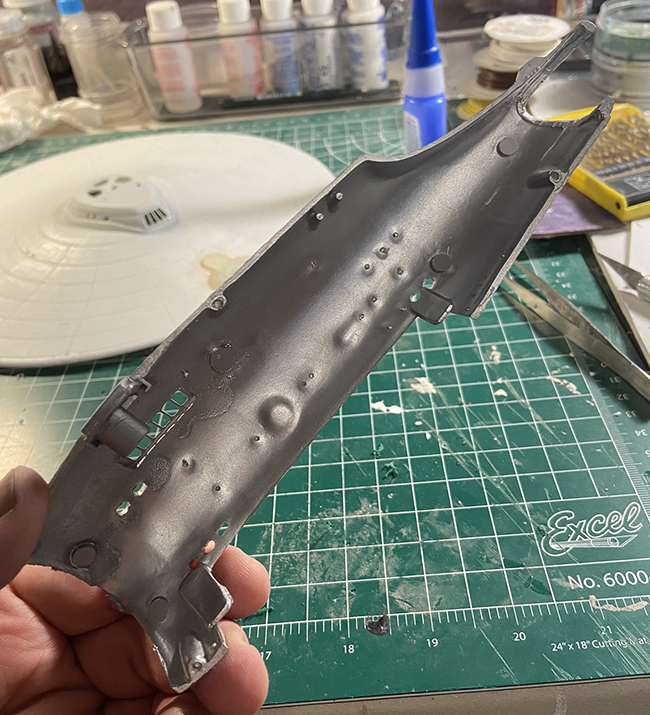
This has been a bit of a challenge... I'm adding interior details that are similar to the interior sections of the Polar Lights 1:350 scale model. I started with photo etch versions of the shuttle bay, arboretum, and officers lounge, but I wasn't happy with the very flat, one-dimensional shuttle bay so I found a better-looking shuttle bay interior made by Green Strawberry. It's very similar to the Polar Lights 1:350 kit, but of course less detailed since it's quite a bit smaller. Still, it does include photo etch railing. This photo is me attaching the photo etch rails to two of the wall pieces. By the way, the Green Strawberry decals for the shuttle bay flooring were horrendous... They curled up and there was nothing I could do to get them to lay flat. So, I am creating my own, based off the Polar Lights 1:350 decals, which I've scanned and reduced in size to fit the 1:537 pieces.
The tiny officers lounge...
I've been bad about posting progress on this build. I've assembled the shuttle bay inside the secondary hull and am working on lighting it and smoothing out the hull. Here are a few recent photos.
In the photo below, you'll see that I missed cutting out one of the windows (second row down from the top, a little over an inch to the left of the docking port. I have since cut it out so that light shines through.
The tiny officers lounge...
Okay, it's been awhile since an update... Here's the rough early stage of the upper saucer - the officers lounge has been installed inside and the windows crafted. The window piece was a huge challenge to get shaped just right. Next, I'll be installing lighting inside the saucer.
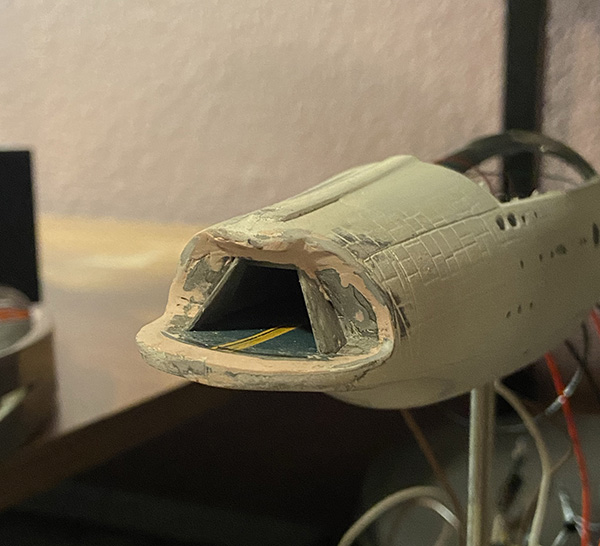
After a hiatus... Cleaning up the area around the hangar bay. It looks messy, like a wreck, but trust me...it'll look good.
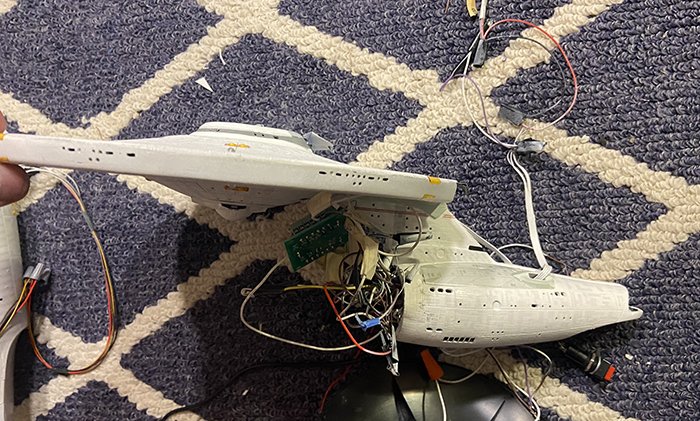
Lighting the saucer.
Lighting the saucer and getting close to finishing...
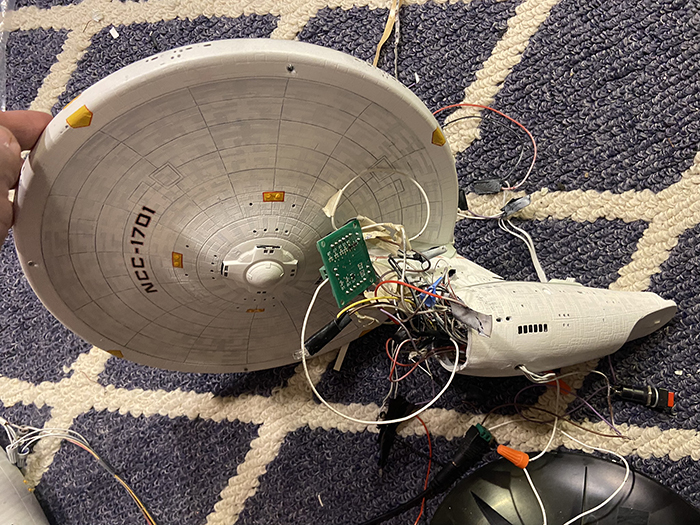
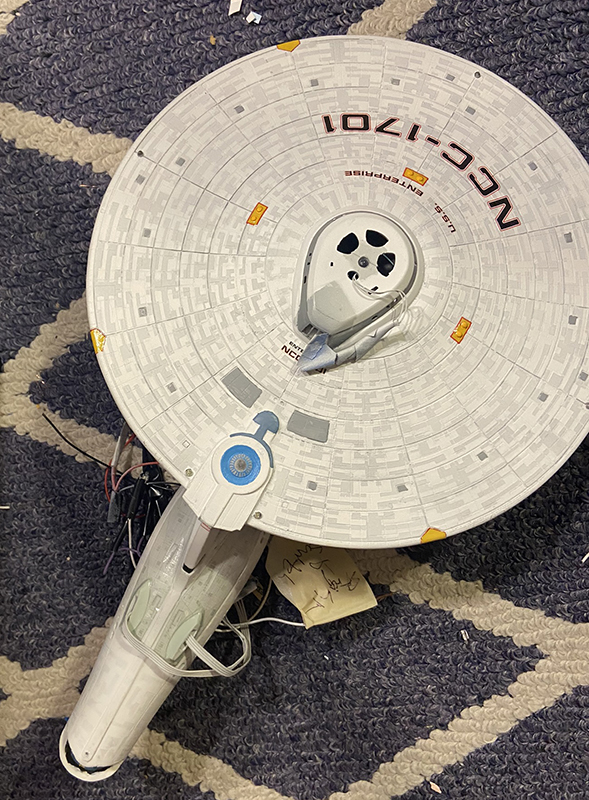
More progress on wiring and assembling the saucer, secondary hull, and neck.
I'm almost a month behind posting these photos...I'll have more soon because the ship is almost done.
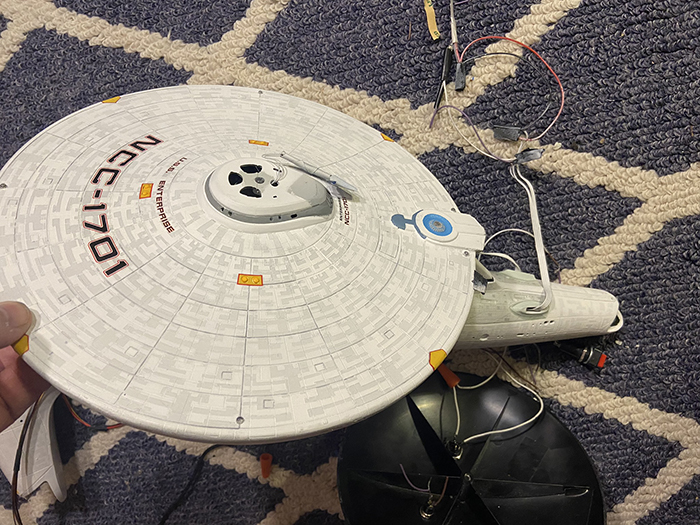
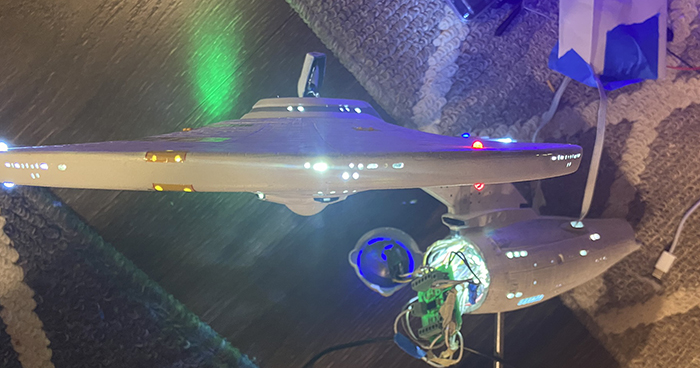
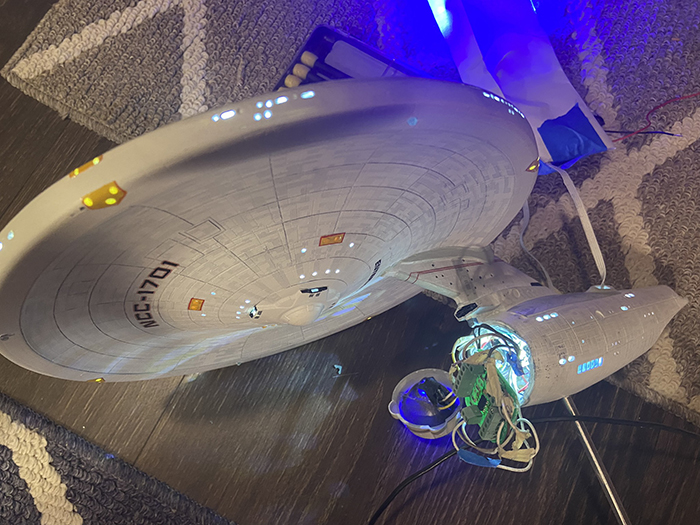
Finally completed!
